Cladding Tiles
Home » Cladding Tiles
Explore Our
Best Quality Cladding Tiles in India
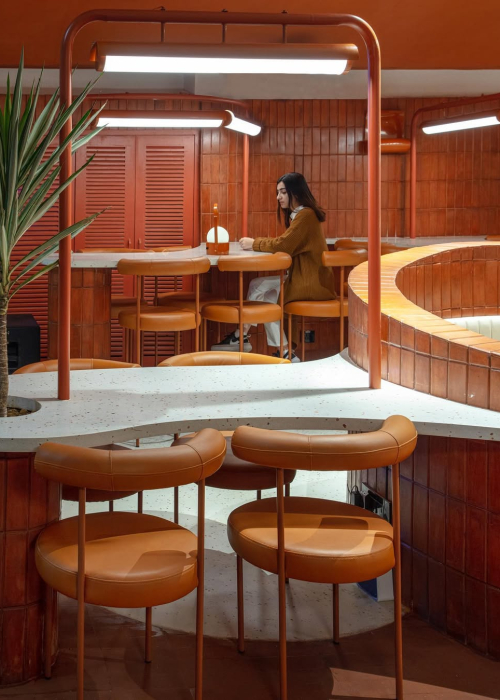
Added as a finishing touch to places that do not use cladding bricks, cladding tiles are a great way to get the beautiful aesthetics of an exposed brick wall. Brick tile/Thin brick/Cladding Tile is an easy to install option for both interior as well as outside walls. With colours that don’t fade over the years and less requirement of maintenance, these bricks are a great way to add that extra flair to your walls.
So if you’re wondering where to get high-quality brick wall cladding tiles, Jindal Mechno Bricks is here to help. As one of the leading brick cladding manufacturers in the country, we offer a wide range of options to add that extra flair to your walls.
Cladding Tiles Dimensions and Shapes
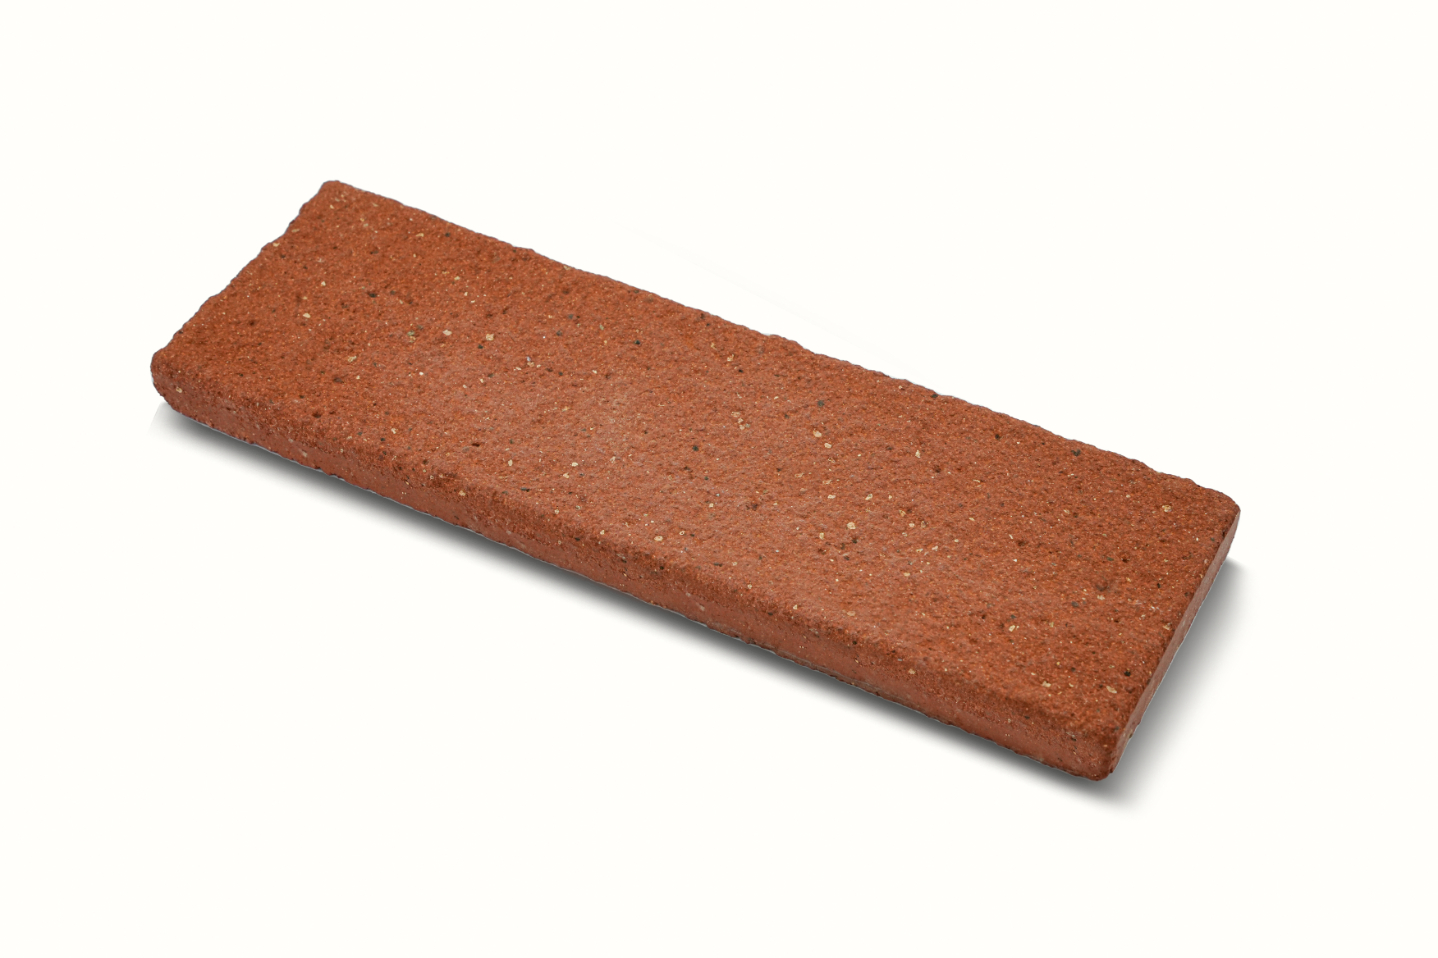
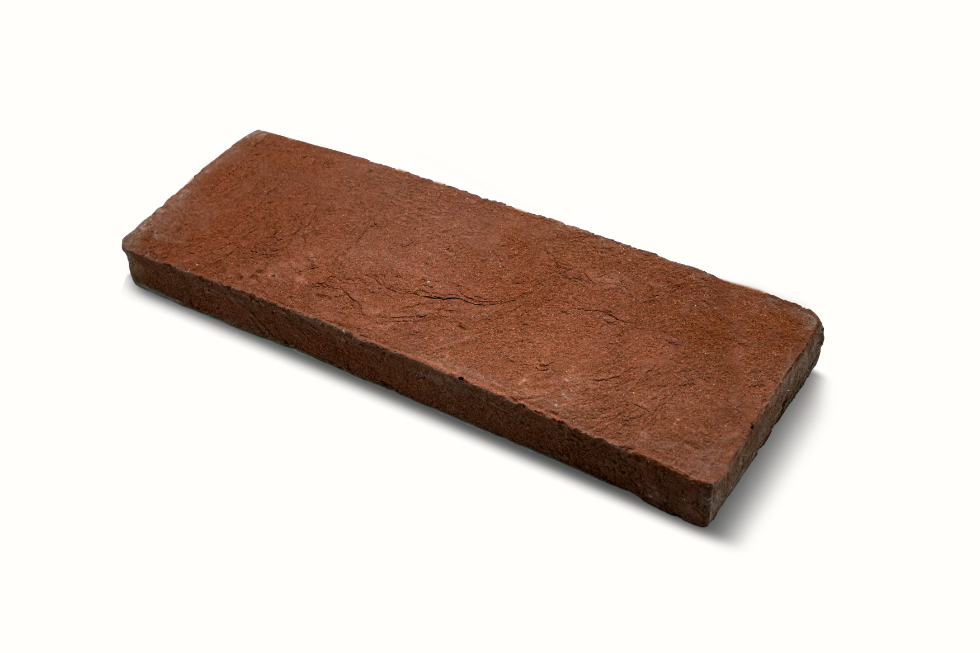
Plain tiles
- Color : Chocolate
- Finish : Plain
- Sizes Available :
- 9″x3″×17mm / 9″x2″×17mm
- 9″x1.5″×17mm / 6″×1″×17mm
- Color : Light Brown
- Finish : Plain
- Sizes Available :
- 9″x3″×17mm / 9″x2″×17mm
- 9″x1.5″×17mm / 6″×1″×17mm
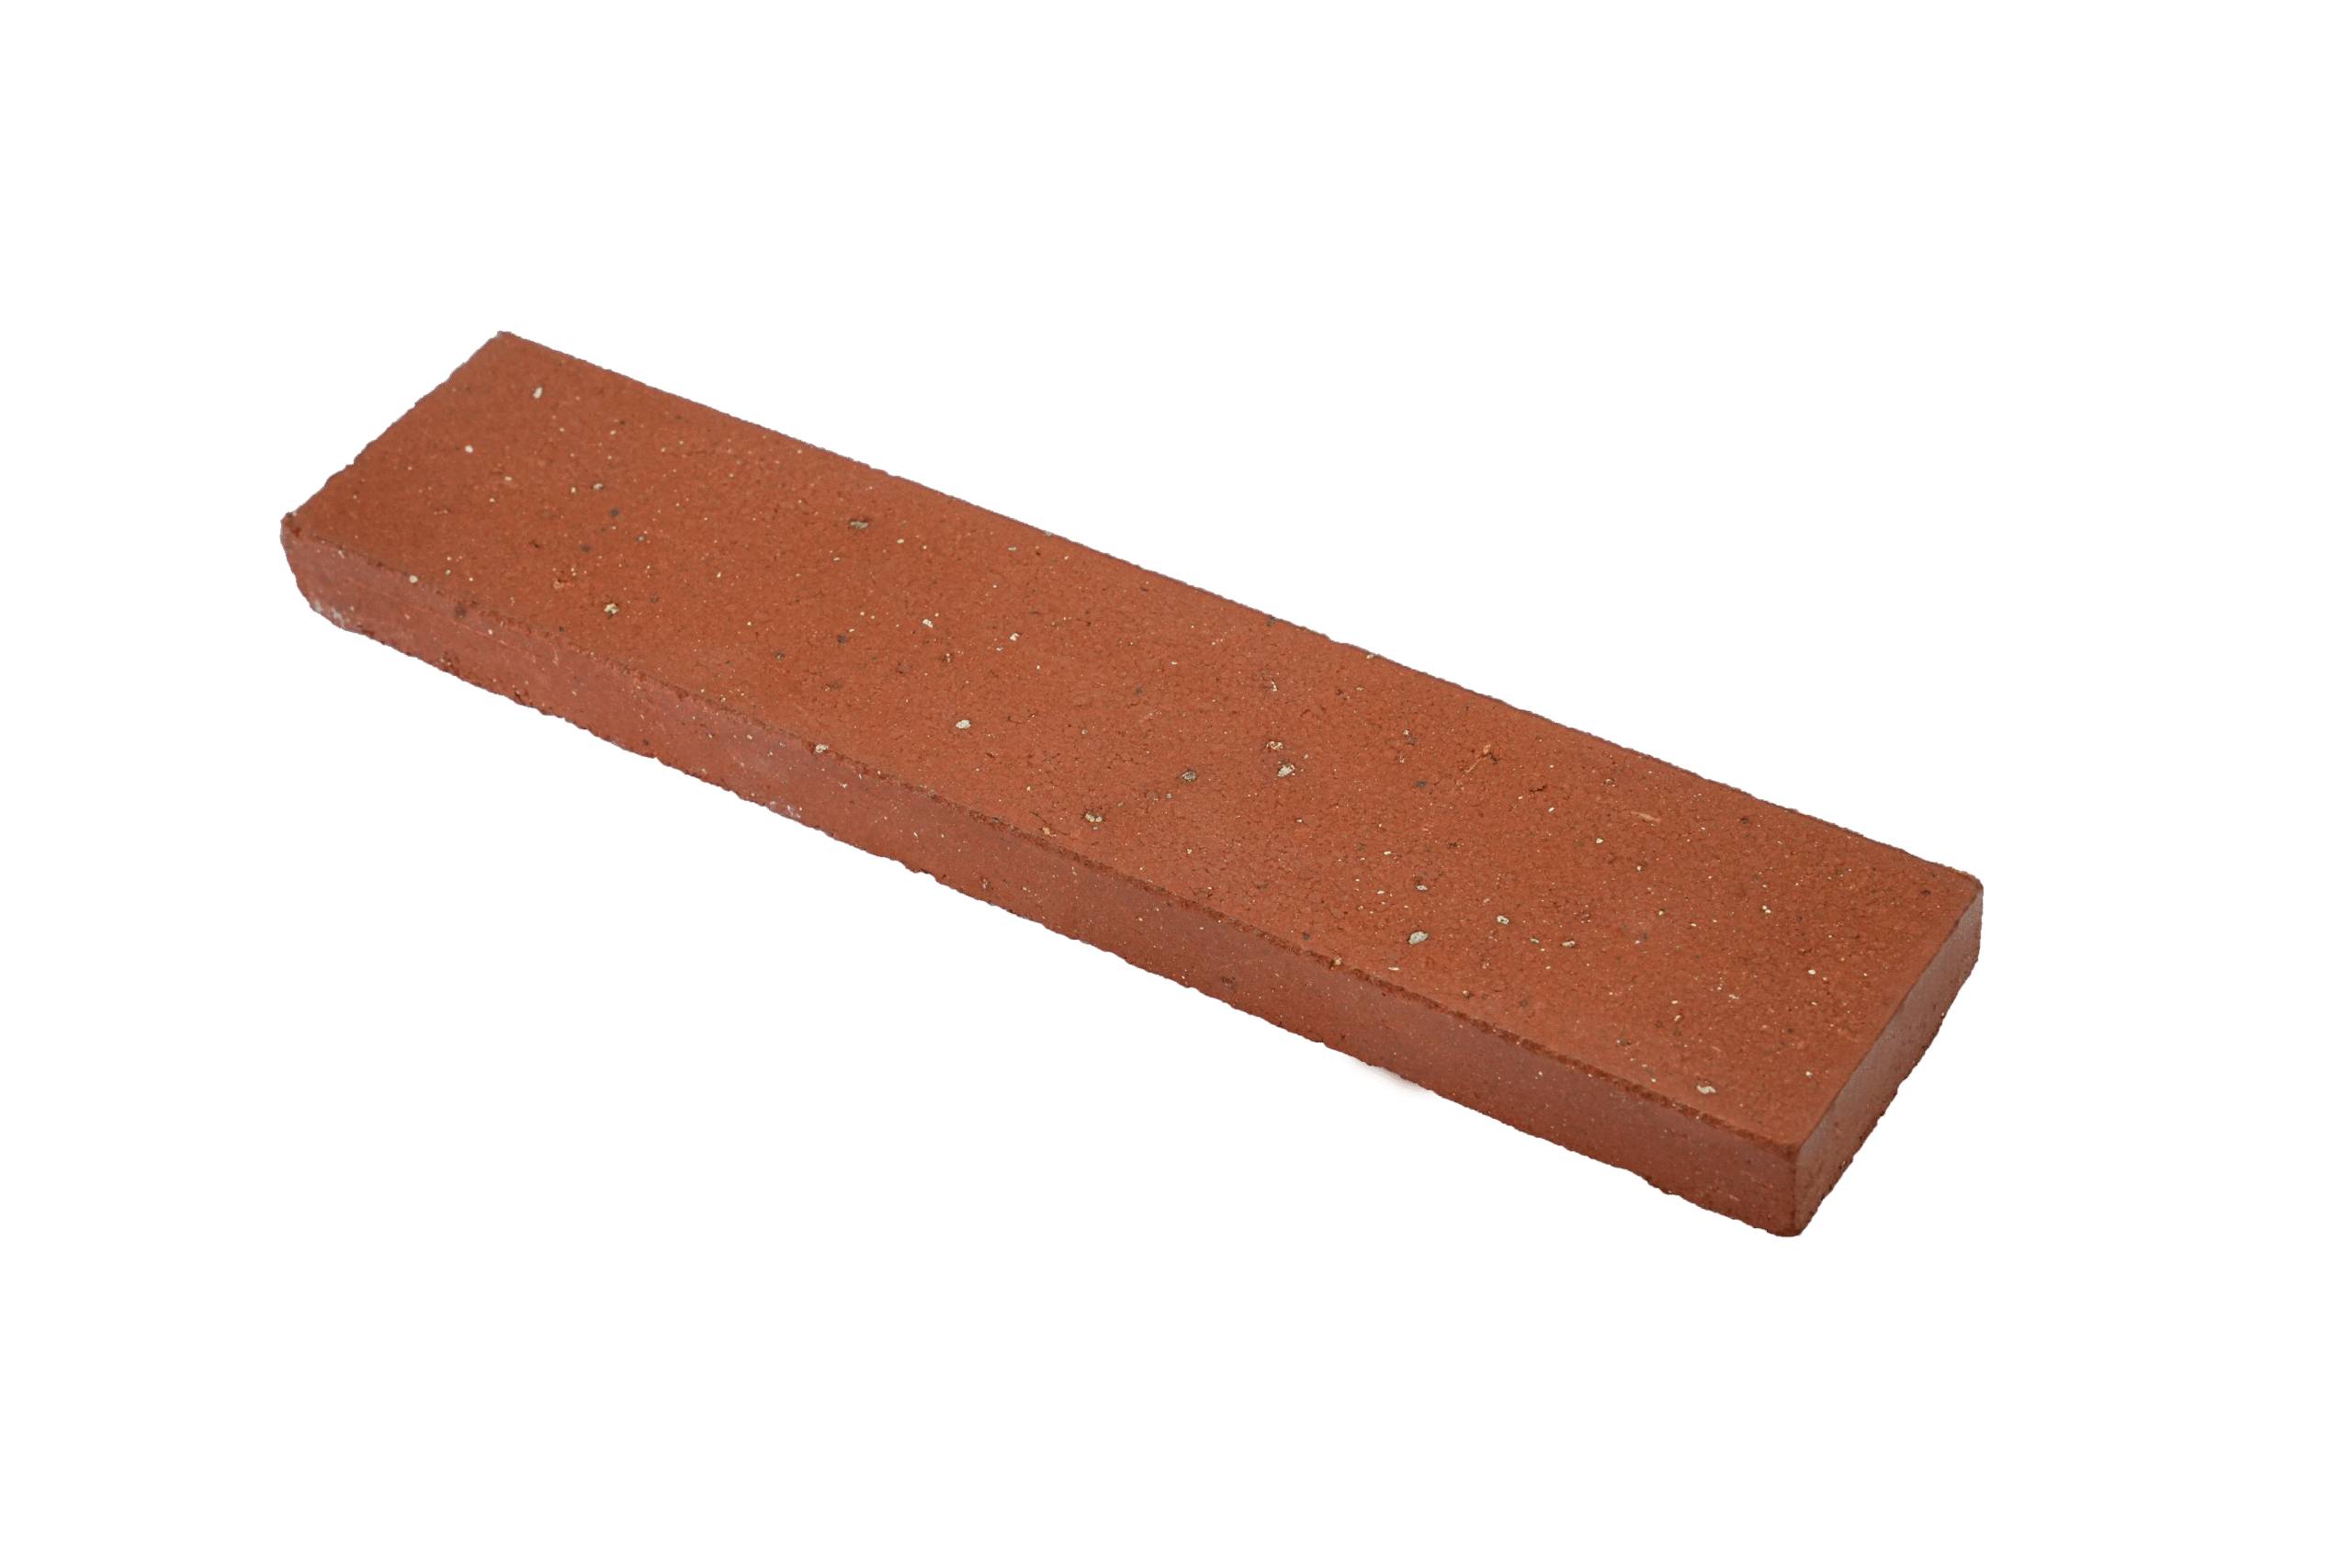
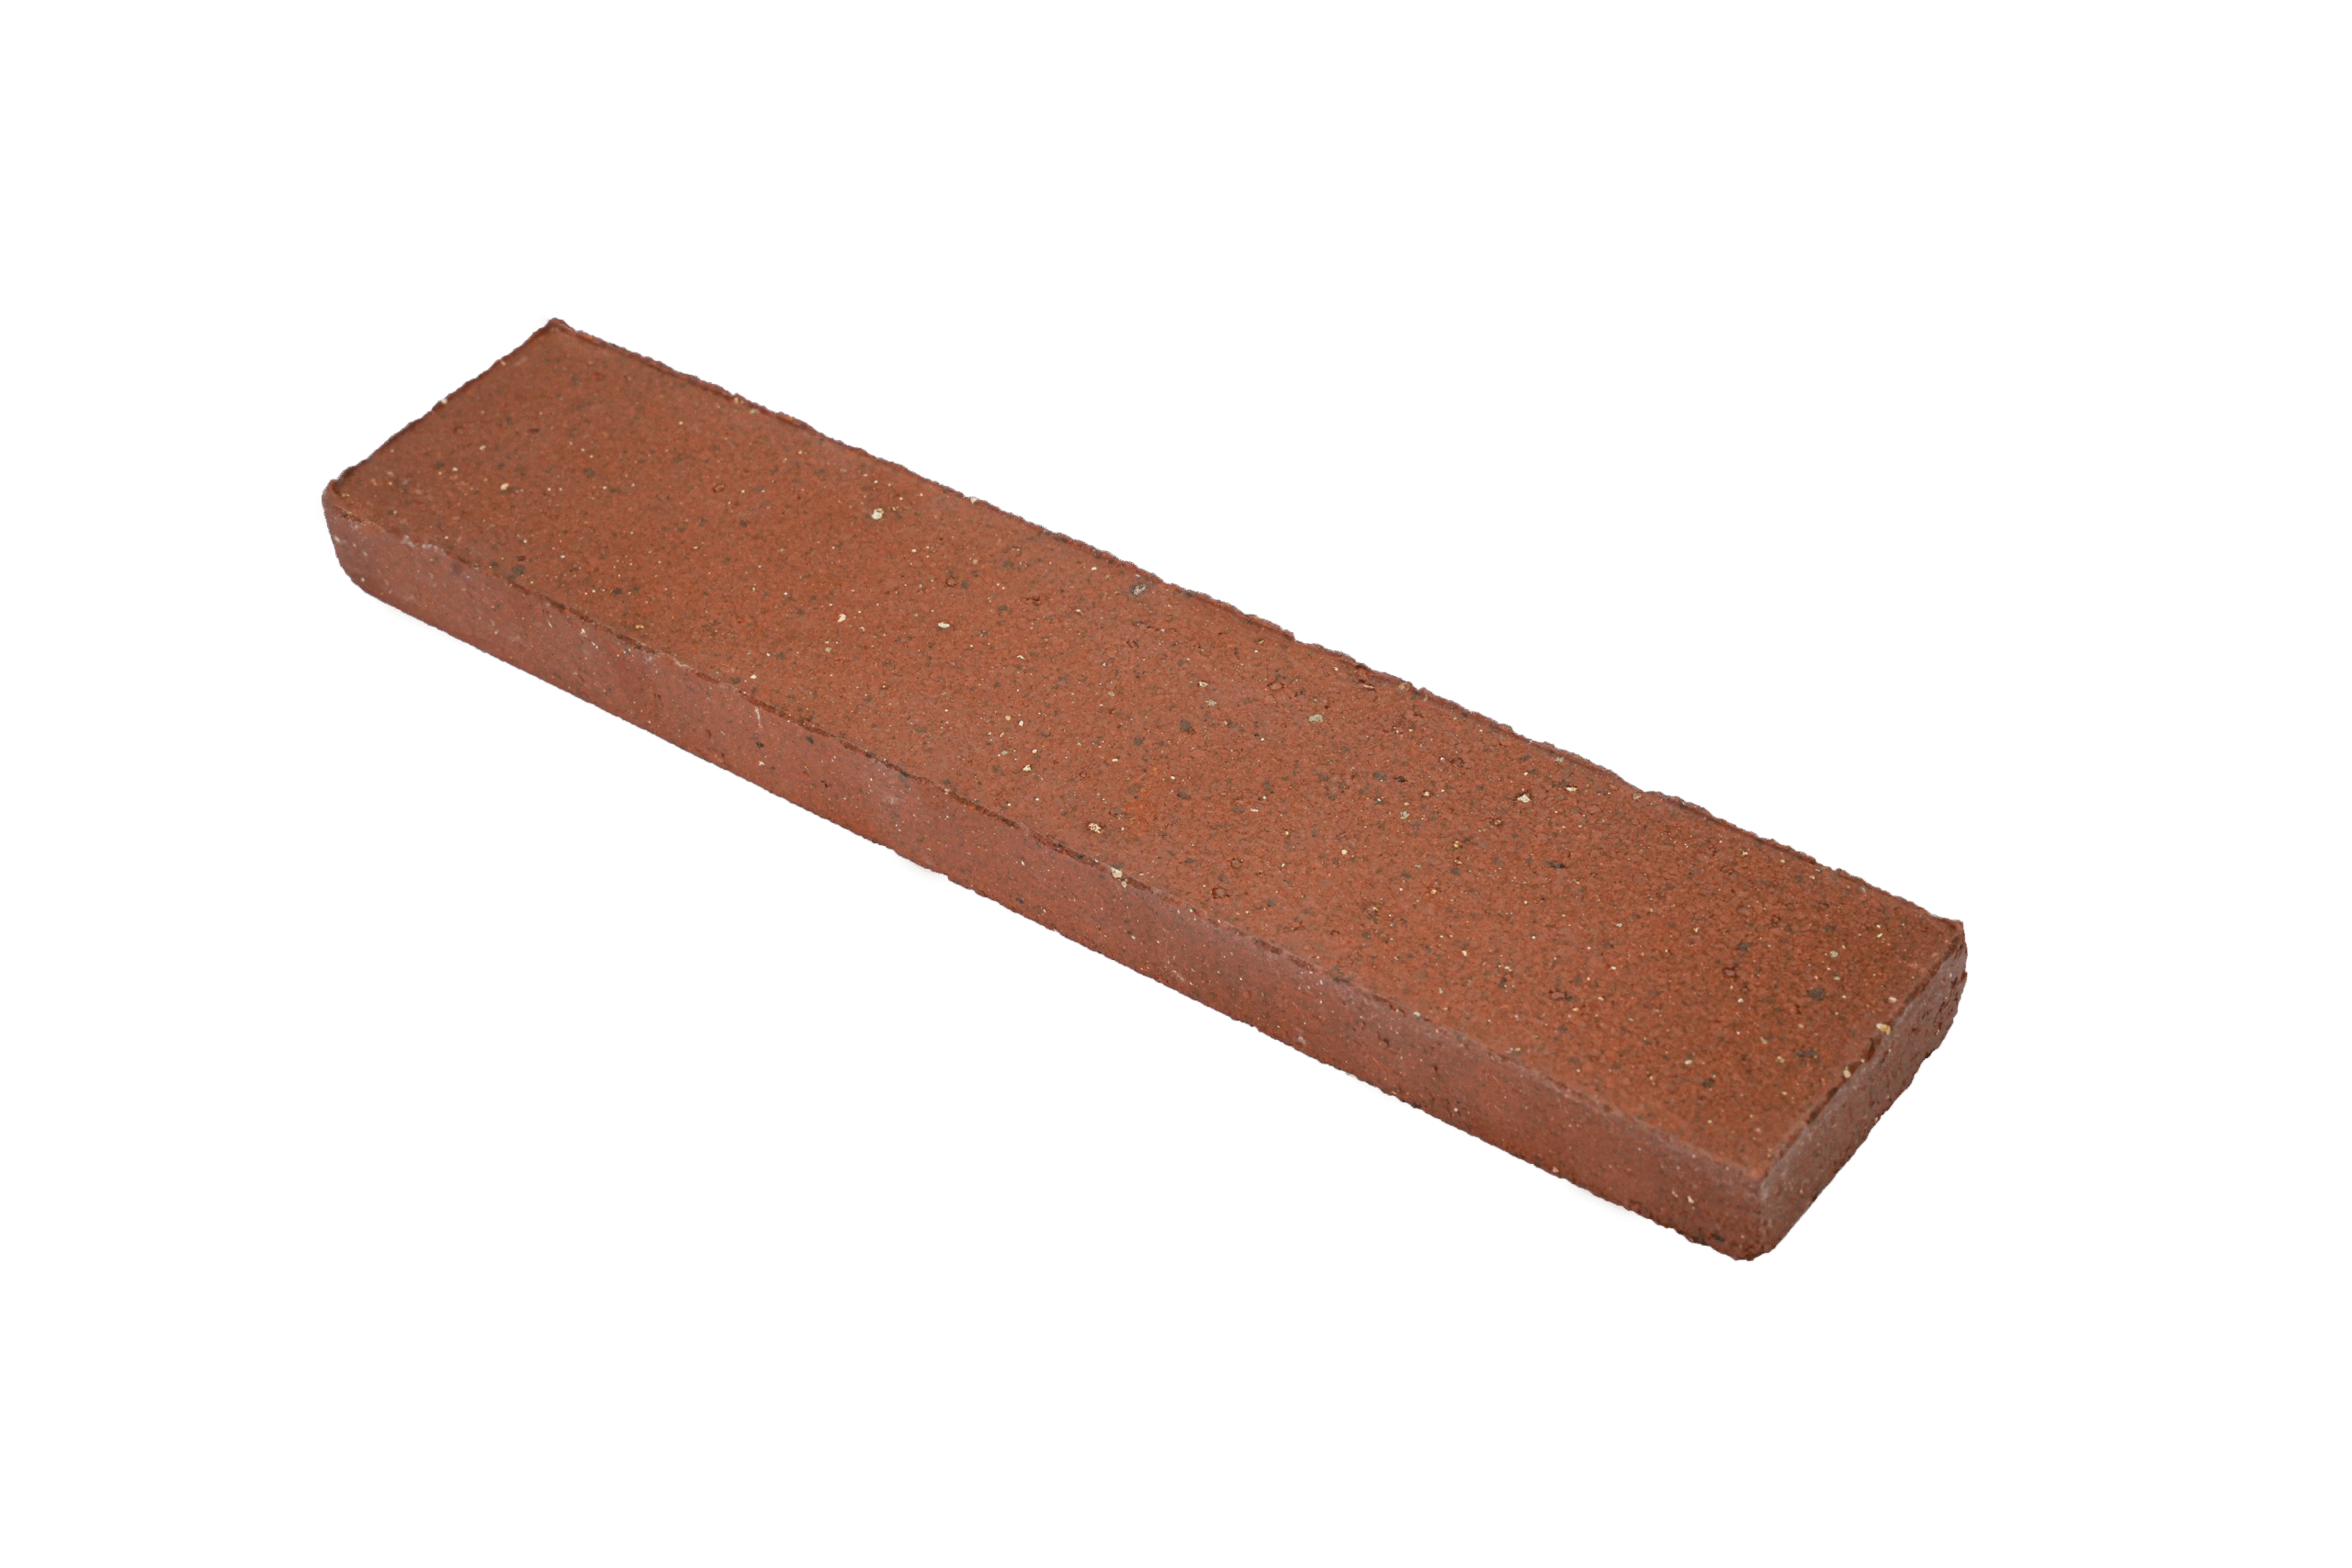
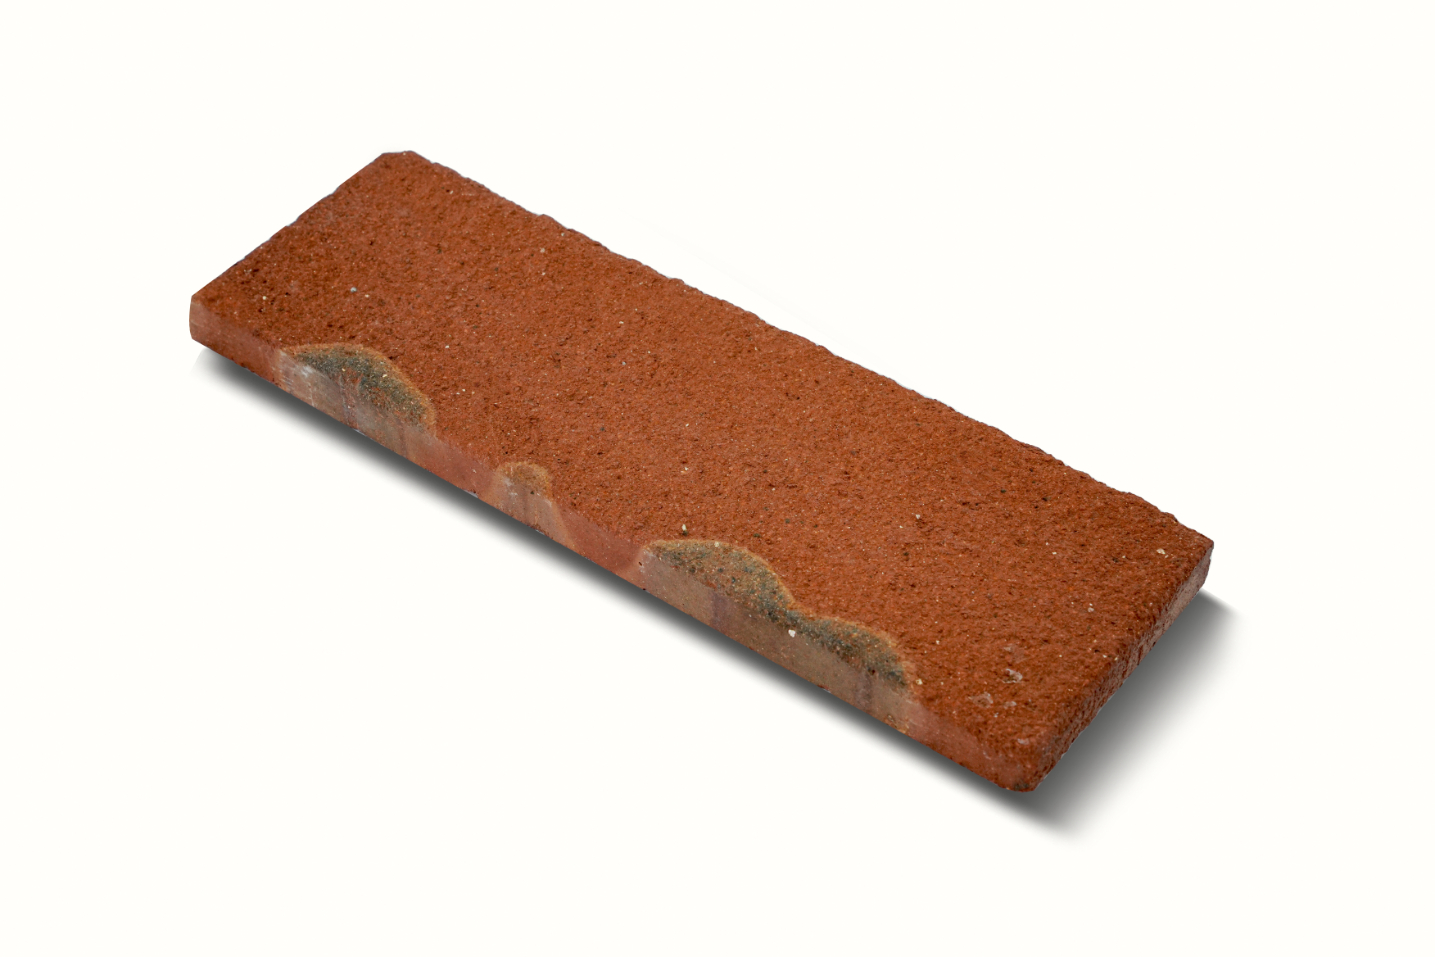
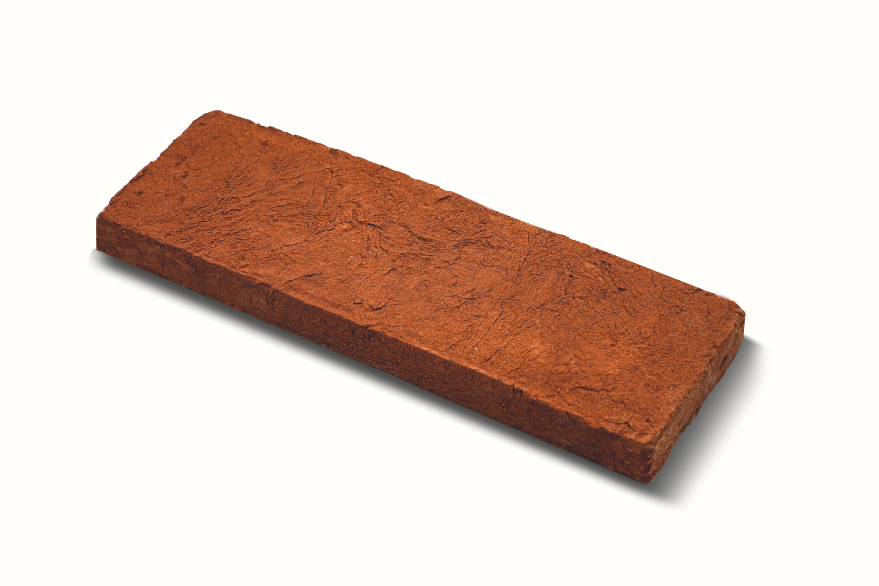
- Color : Terracotta
- Finish : Plain
- Sizes Available :
- 9″x3″×17mm / 9″x2″×17mm
- 9″x1.5″×17mm / 6″×1″×17mm
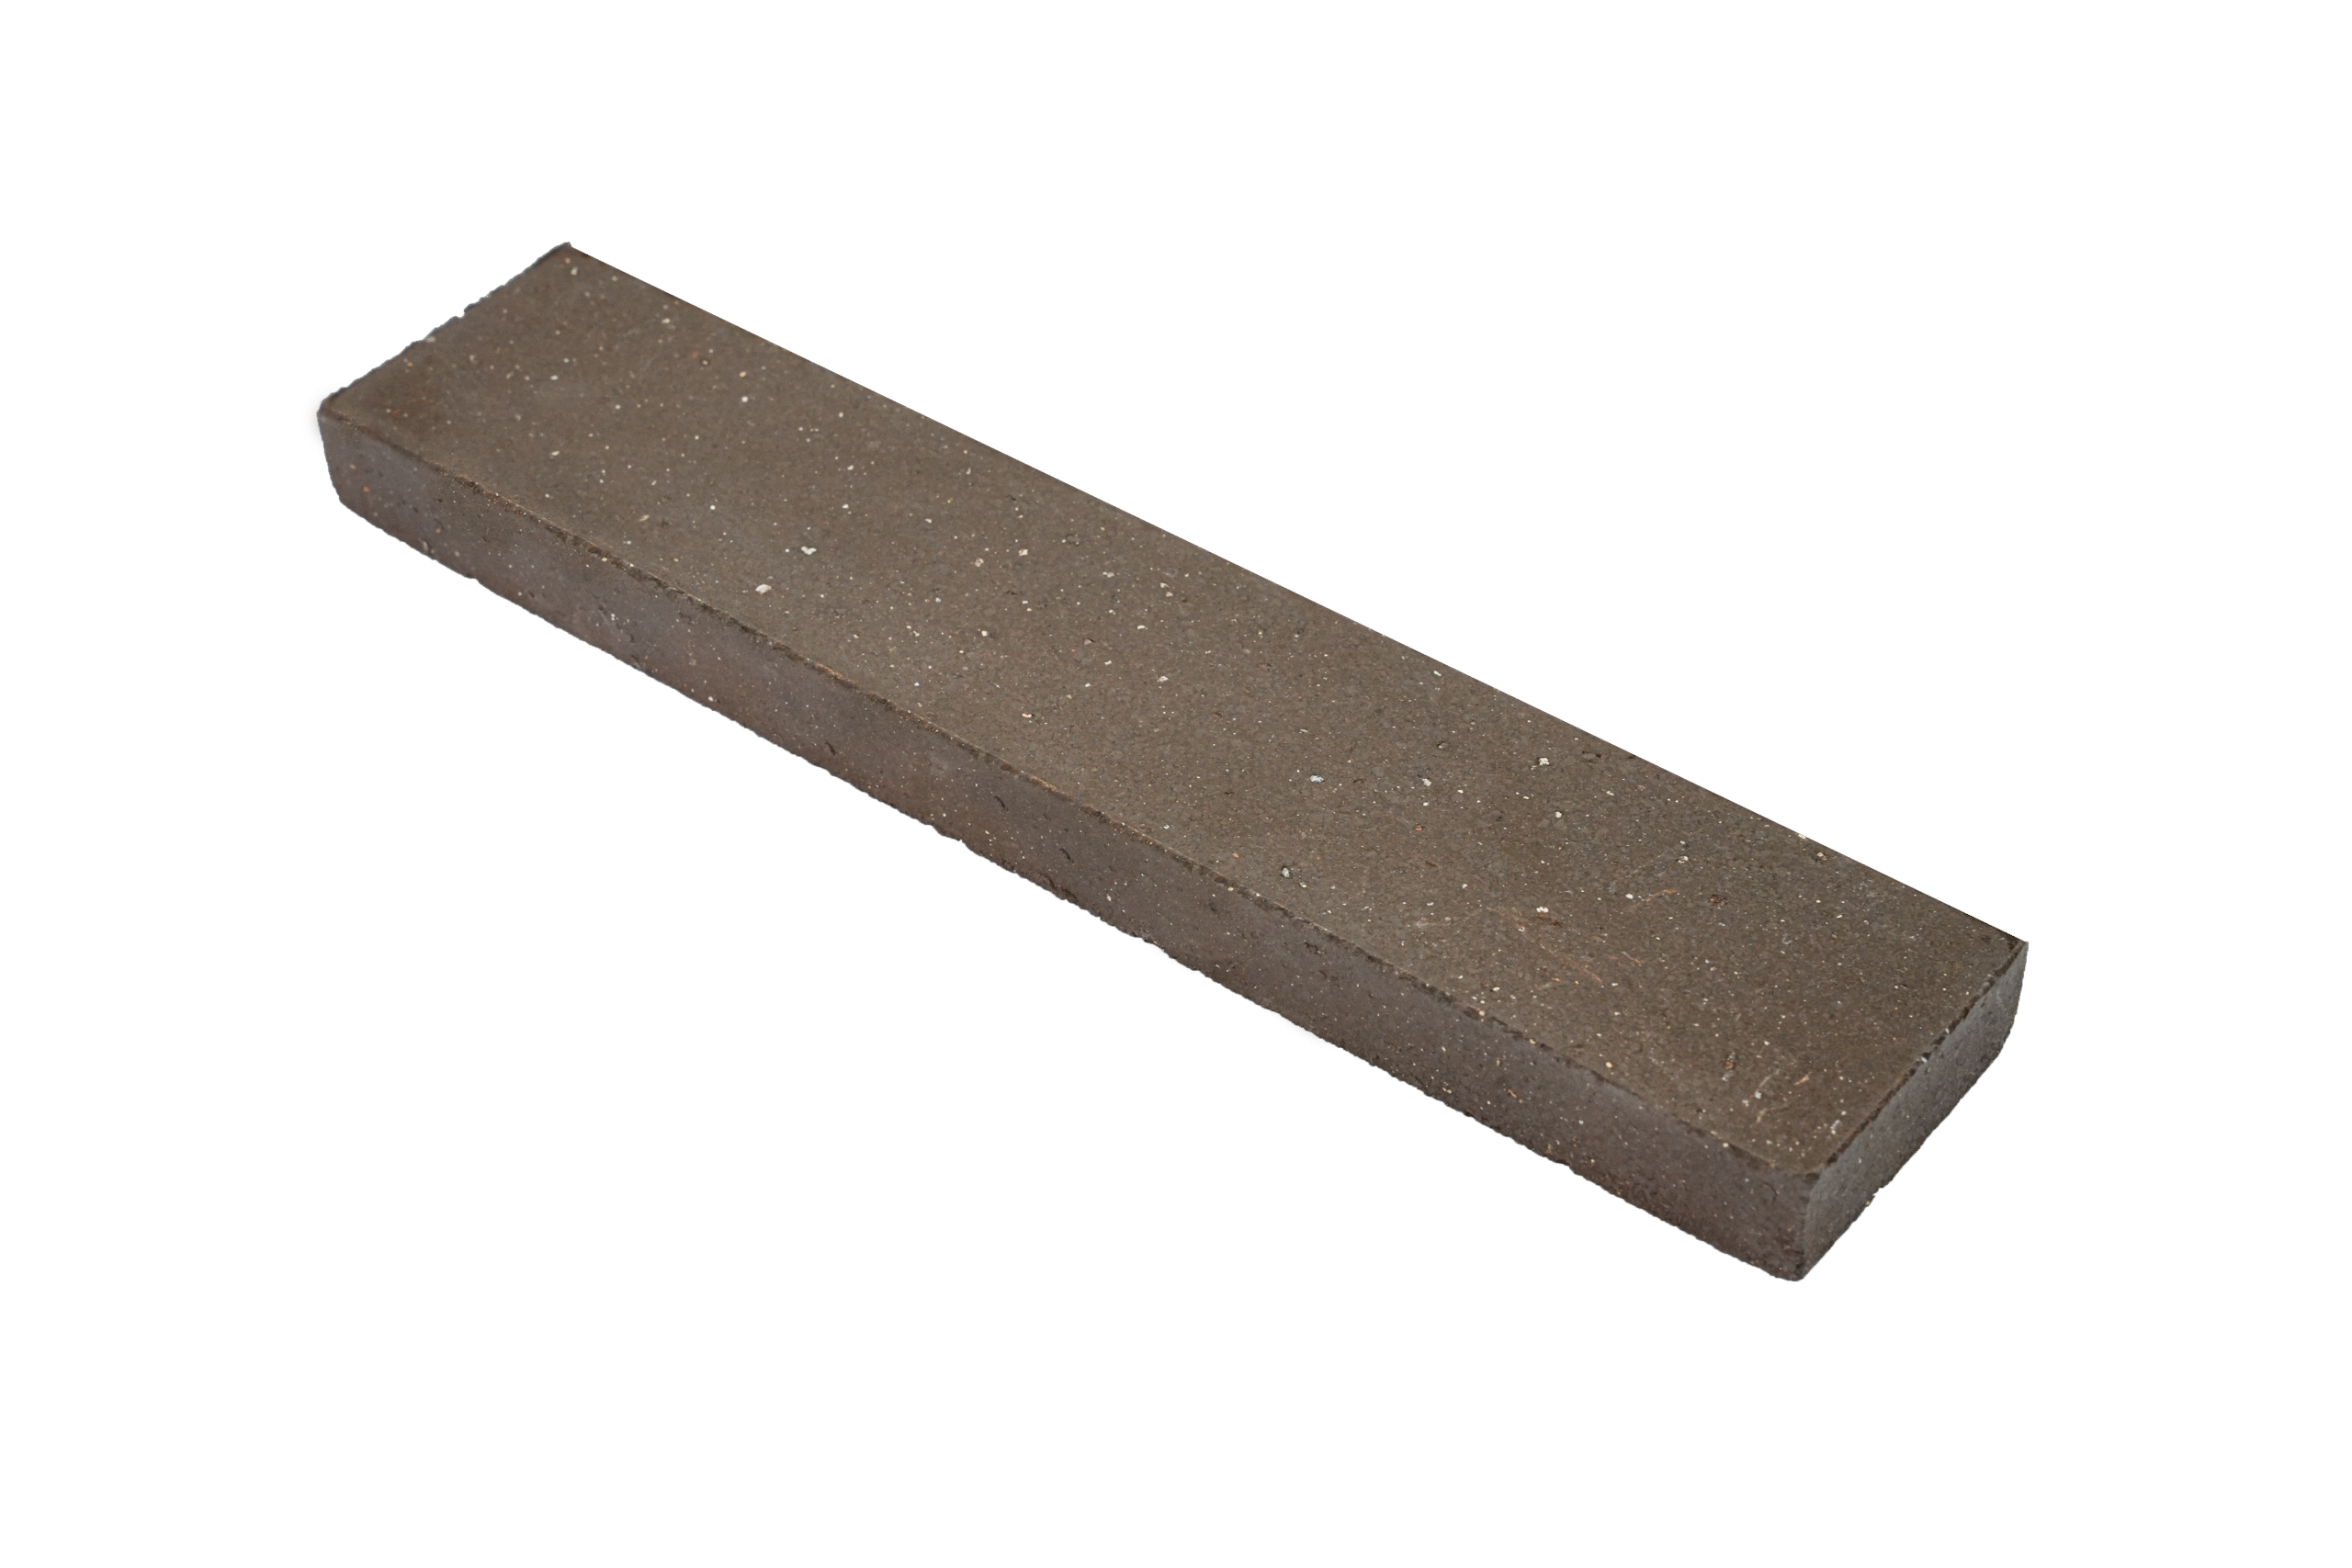
- Color : Mud
- Finish : Plain
- Sizes Available :
- 9″x3″×17mm / 9″x2″×17mm
- 9″x1.5″×17mm / 6″×1″×17mm
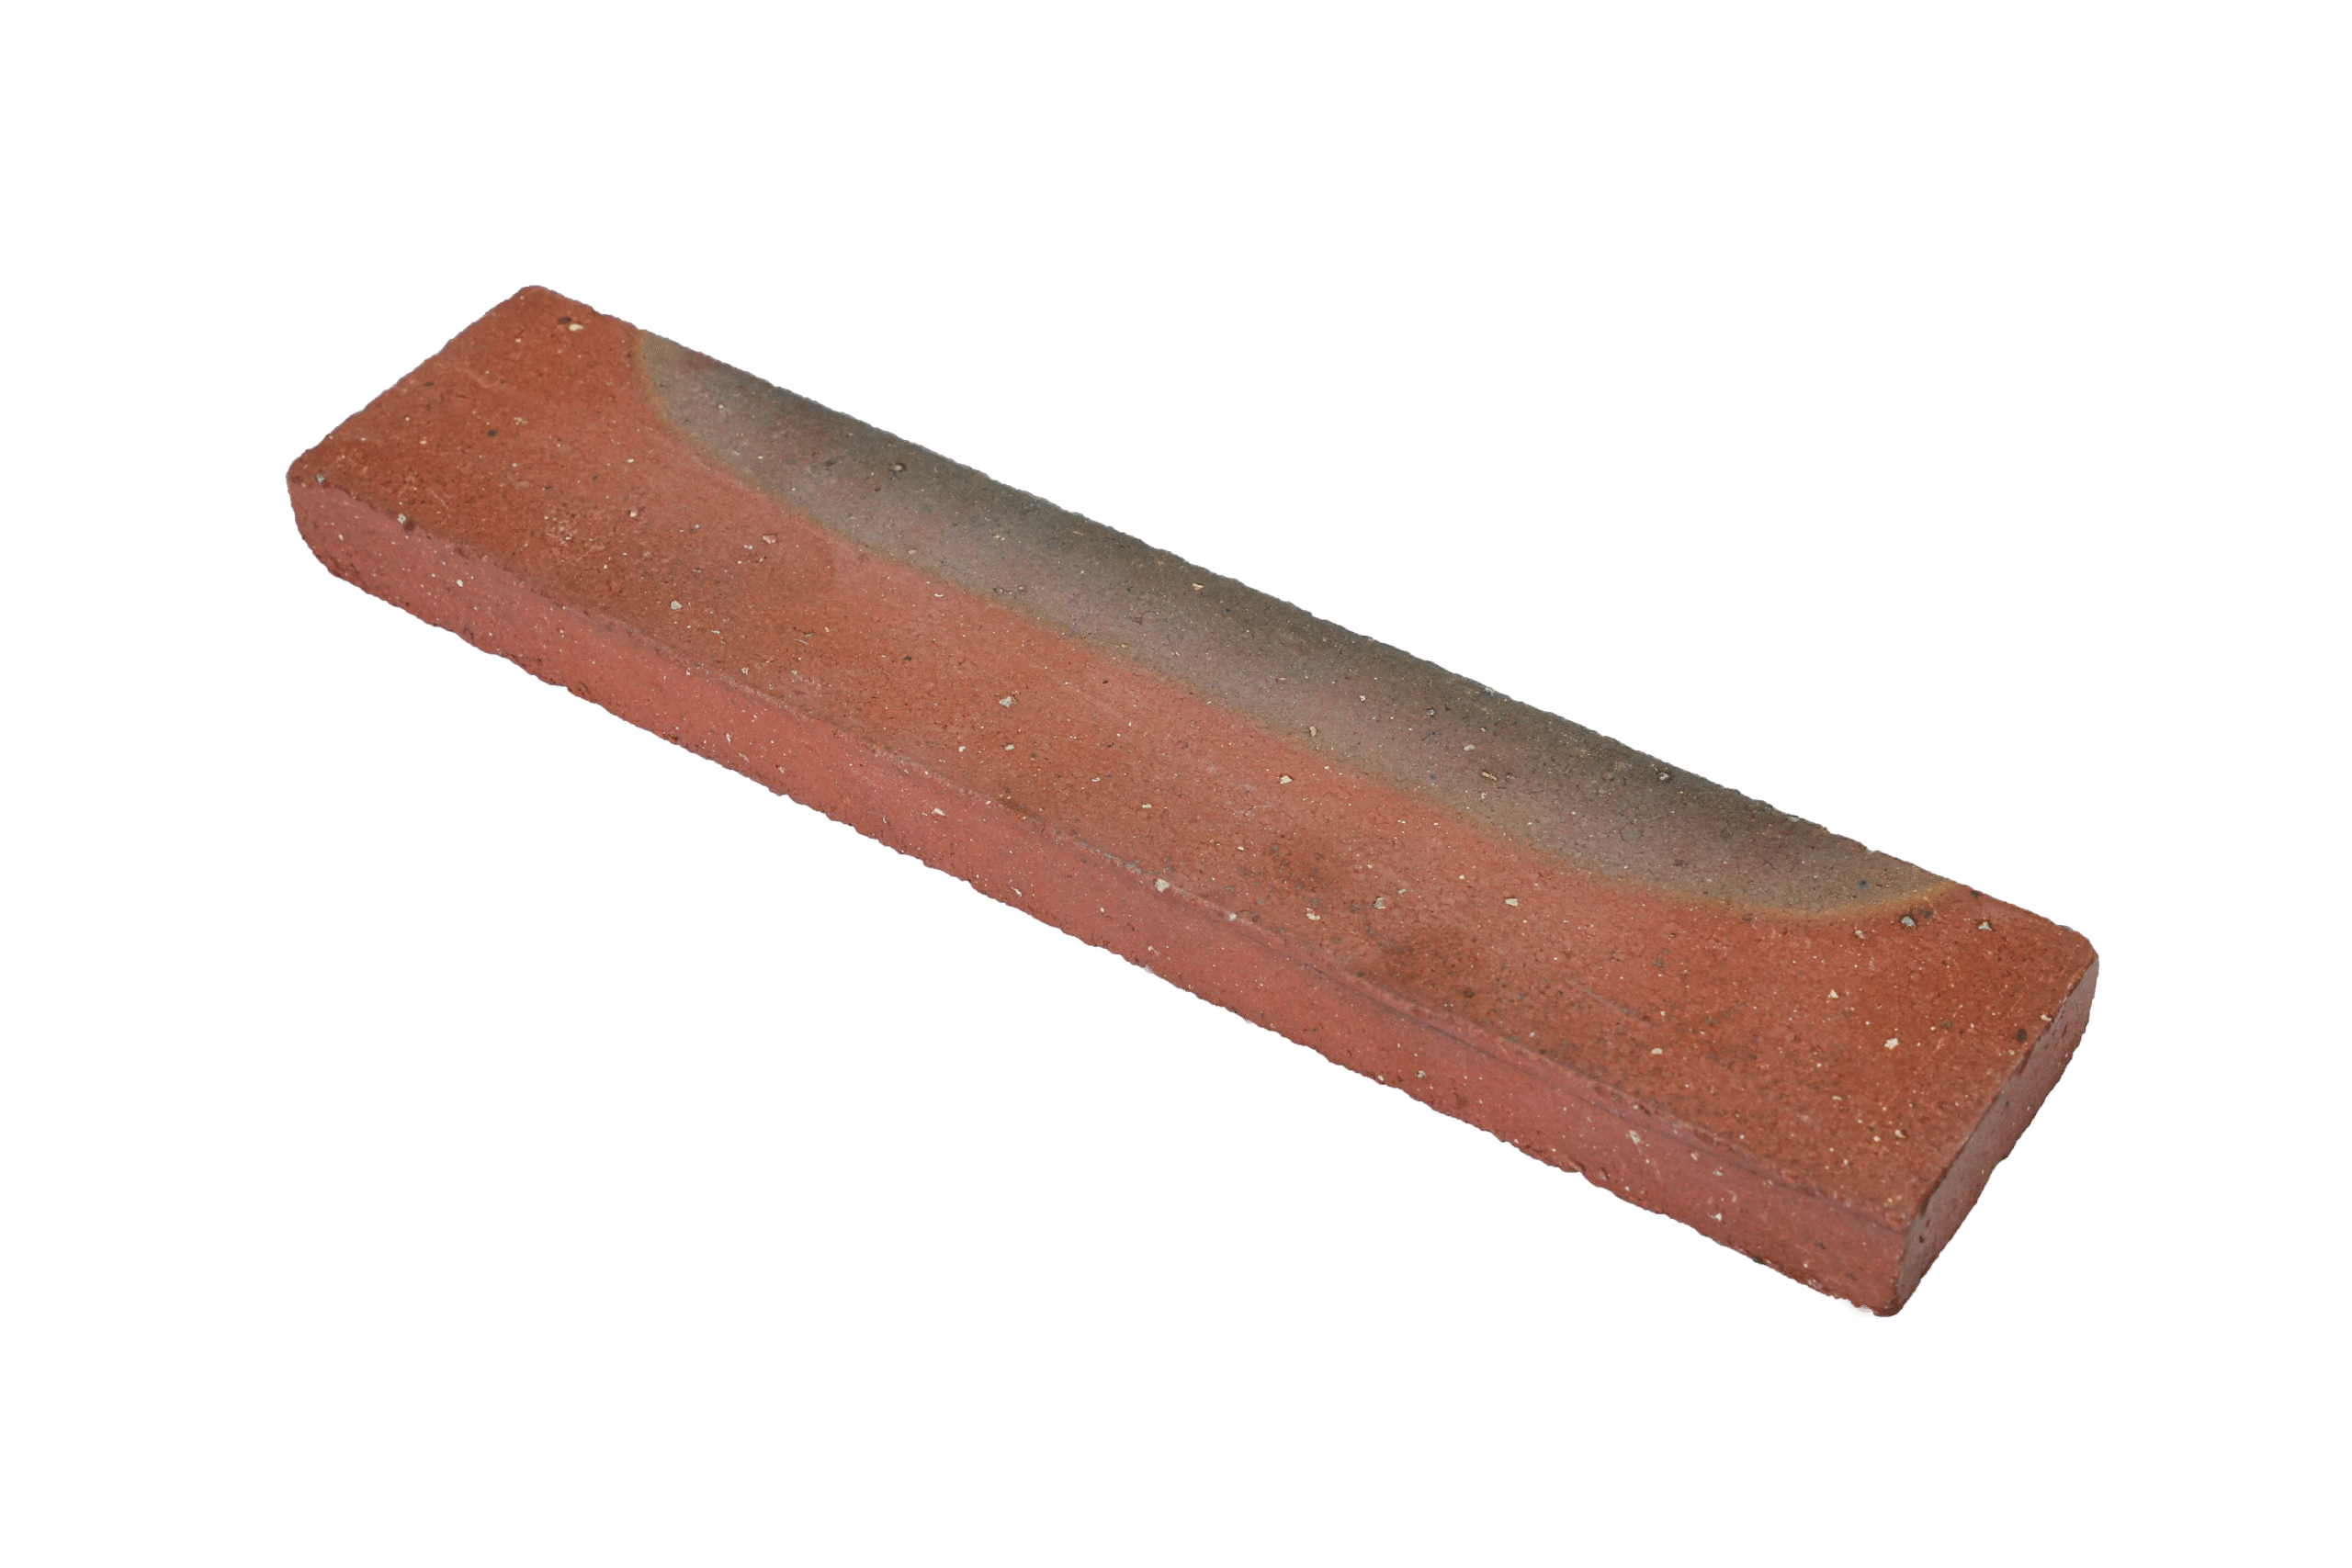
- Color : Dual Tone
- Finish : Plain
- Sizes Available :
- 9″x3″×17mm / 9″x2″×17mm
- 9″x1.5″×17mm / 6″×1″×17mm
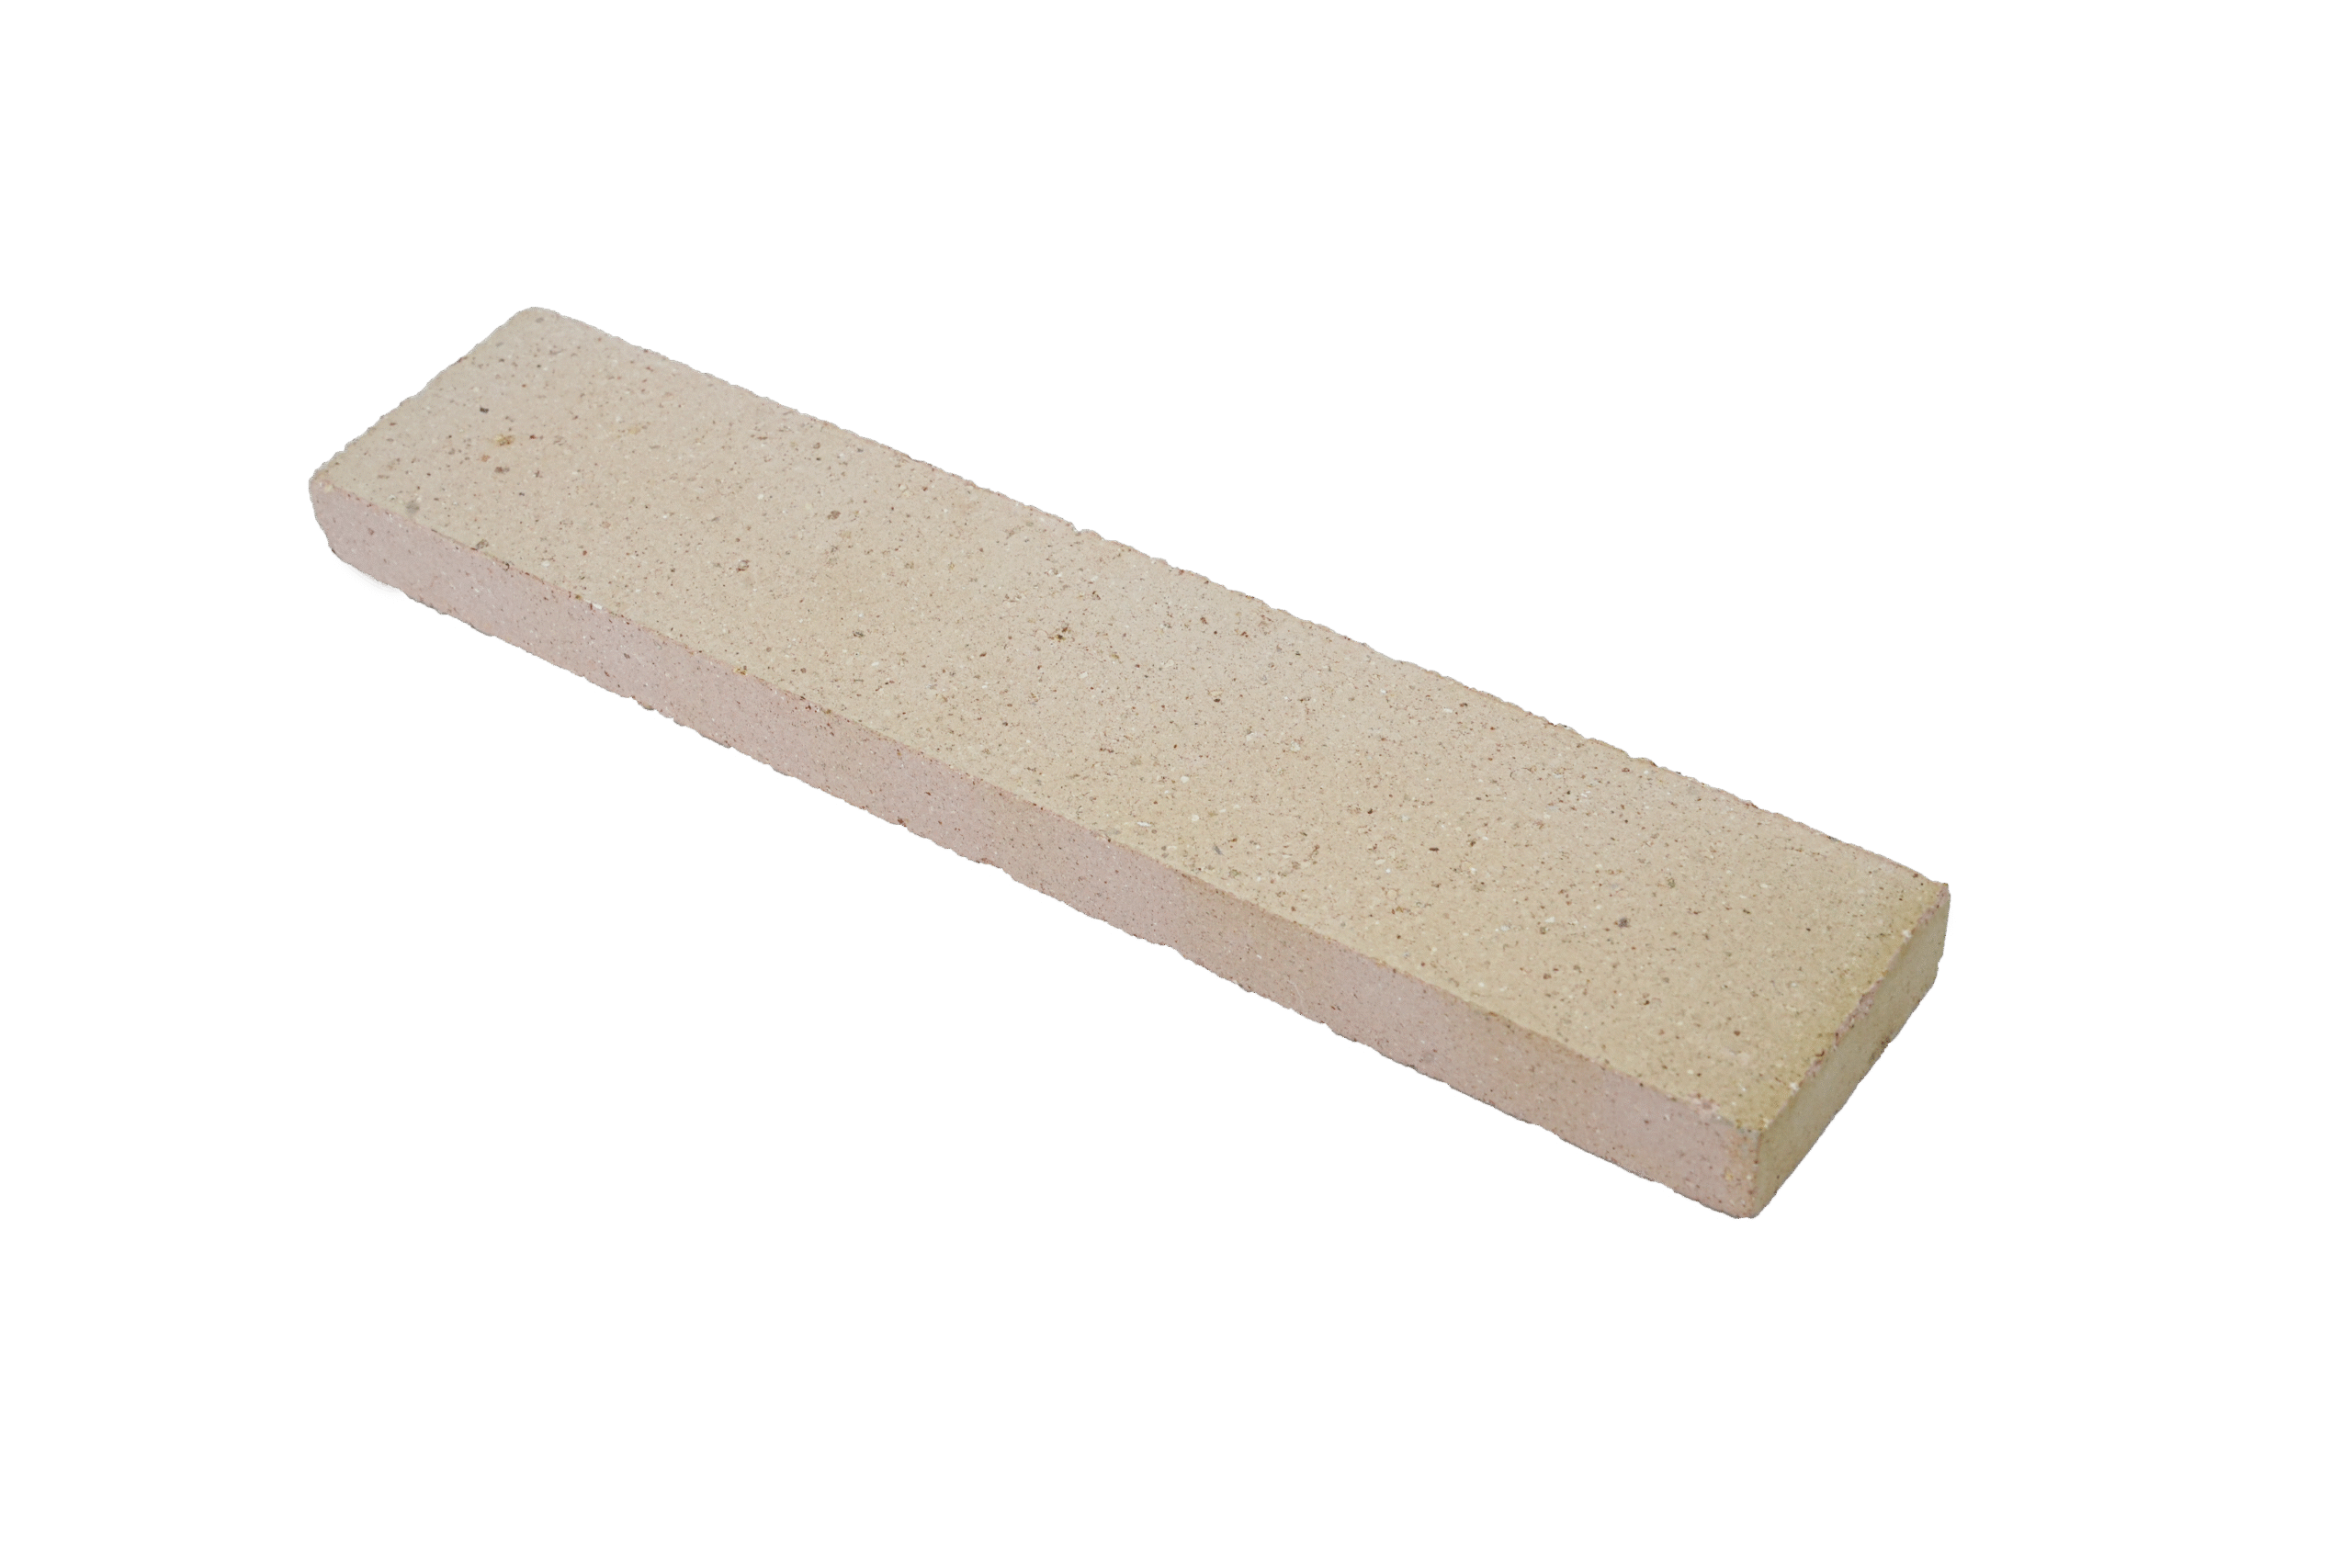
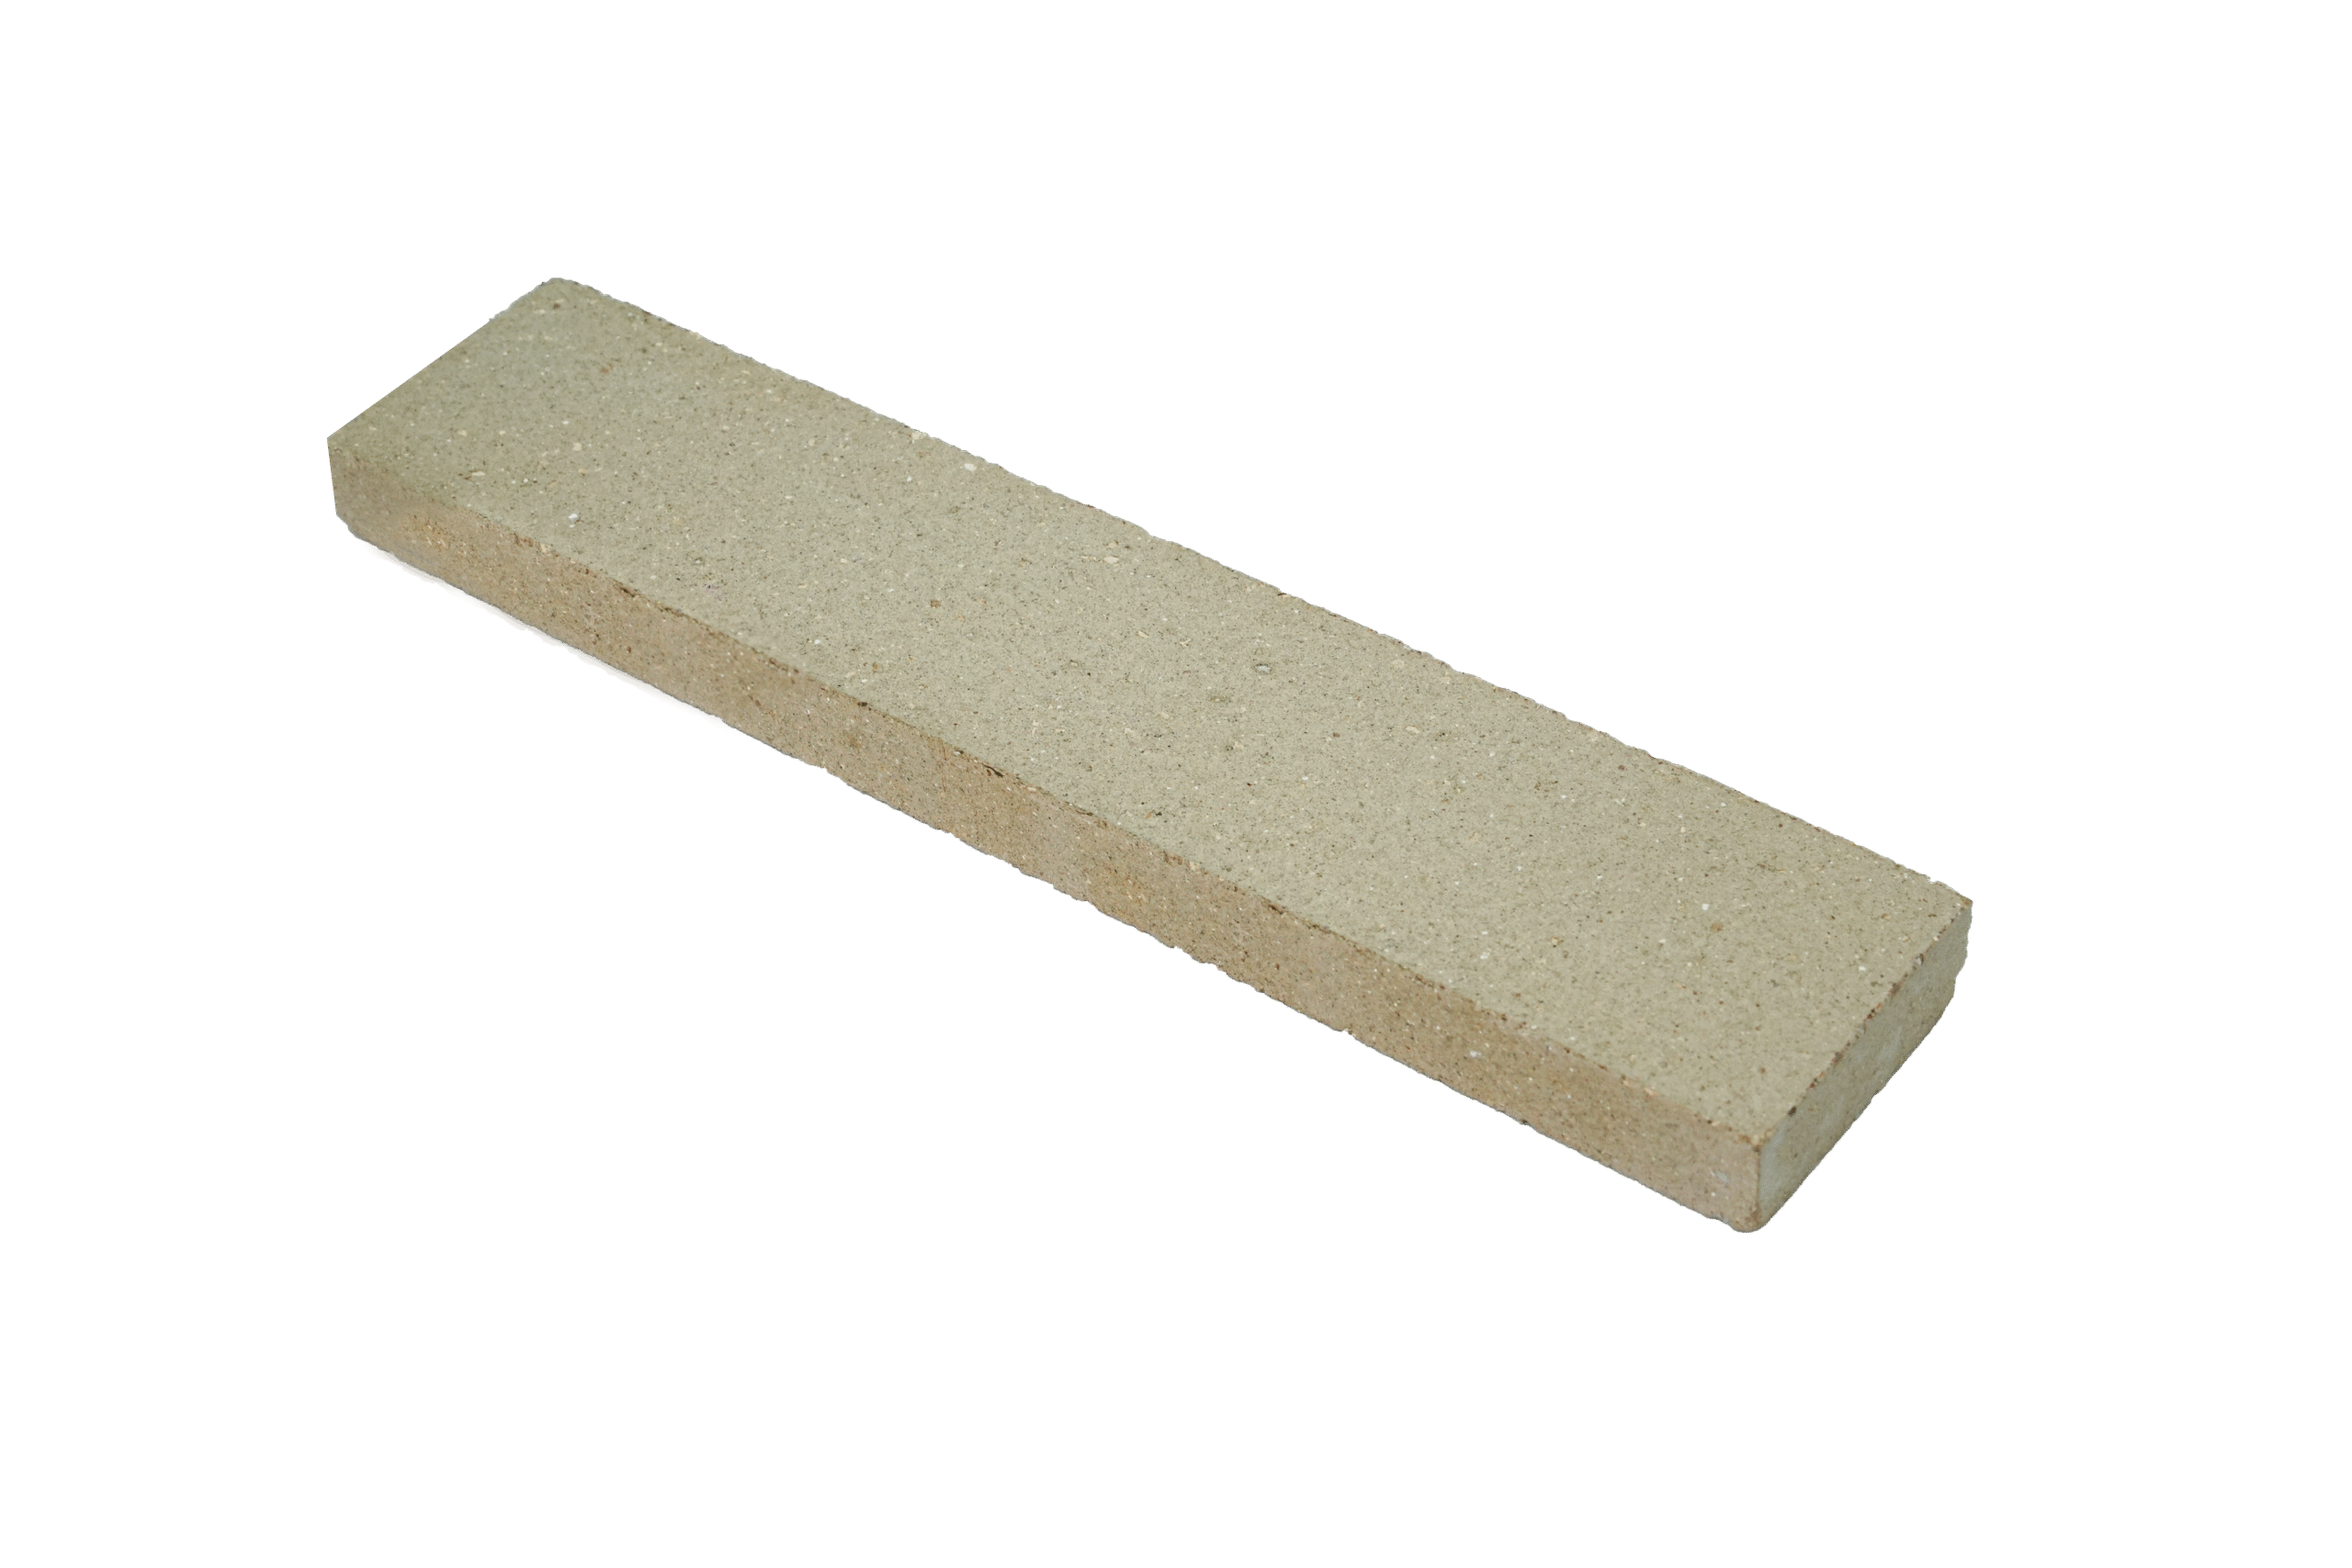
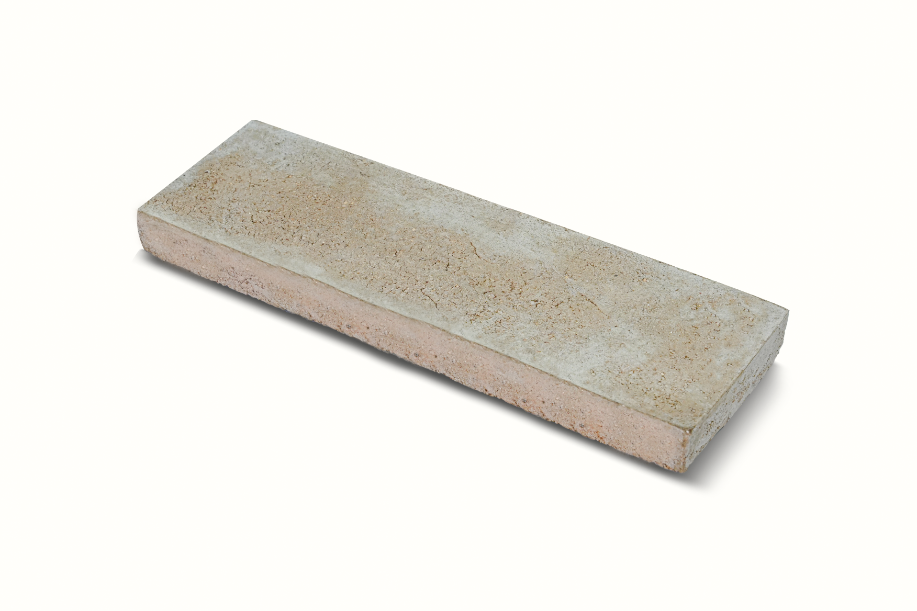
- Color : Beige
- Finish : Plain
- Sizes Available :
- 9″x3″×17mm / 9″x2″×17mm
- 9″x1.5″×17mm / 6″×1″×17mm
Texture Tiles
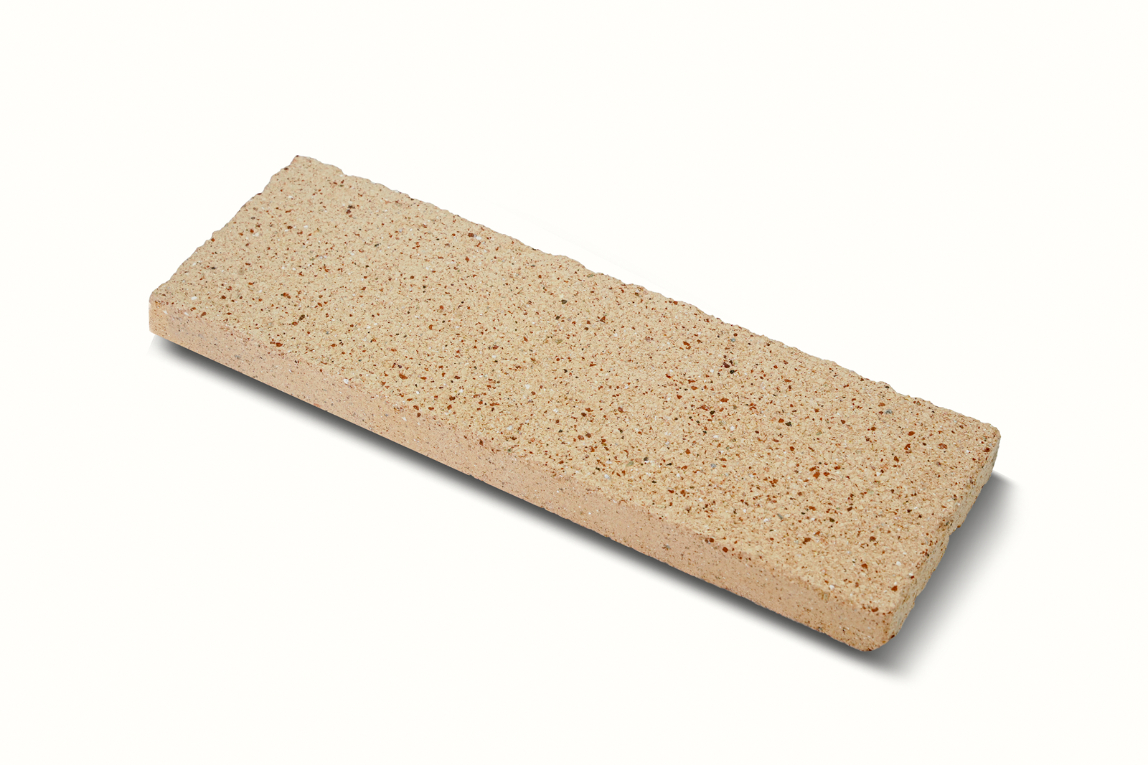
- Color : Beige
- Finish : Textured
- Sizes Available :
- 9″x3″×17mm / 9″x2″×17mm
- 9″x1.5″×17mm / 6″×1″×17mm
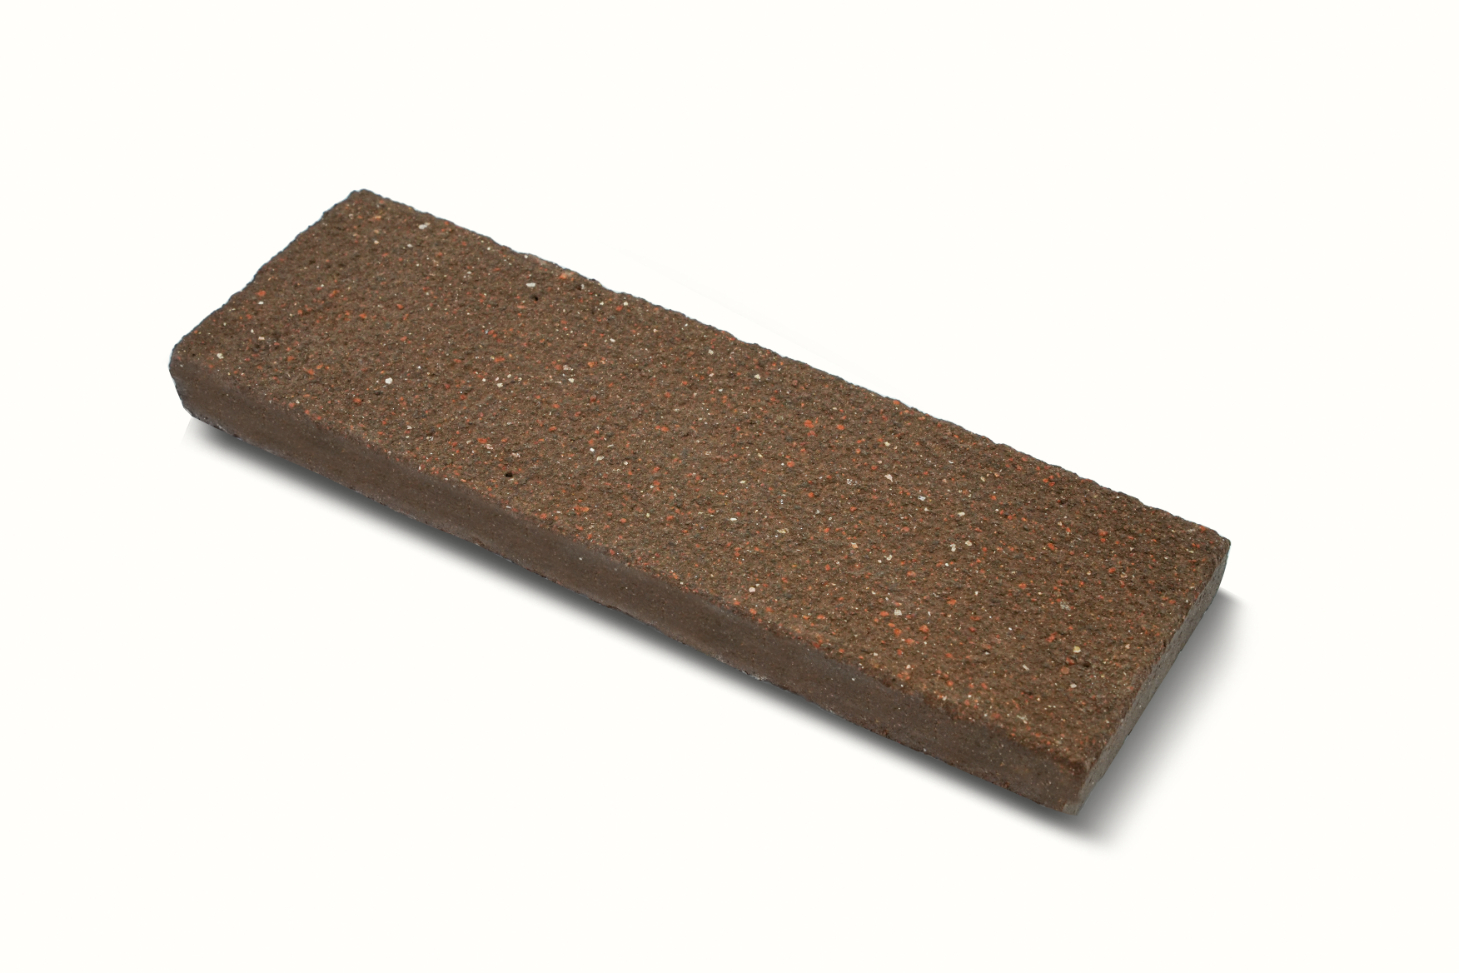
- Color : Chocolate
- Finish : Textured
- Sizes Available :
- 9″x3″×17mm / 9″x2″×17mm
- 9″x1.5″×17mm / 6″×1″×17mm
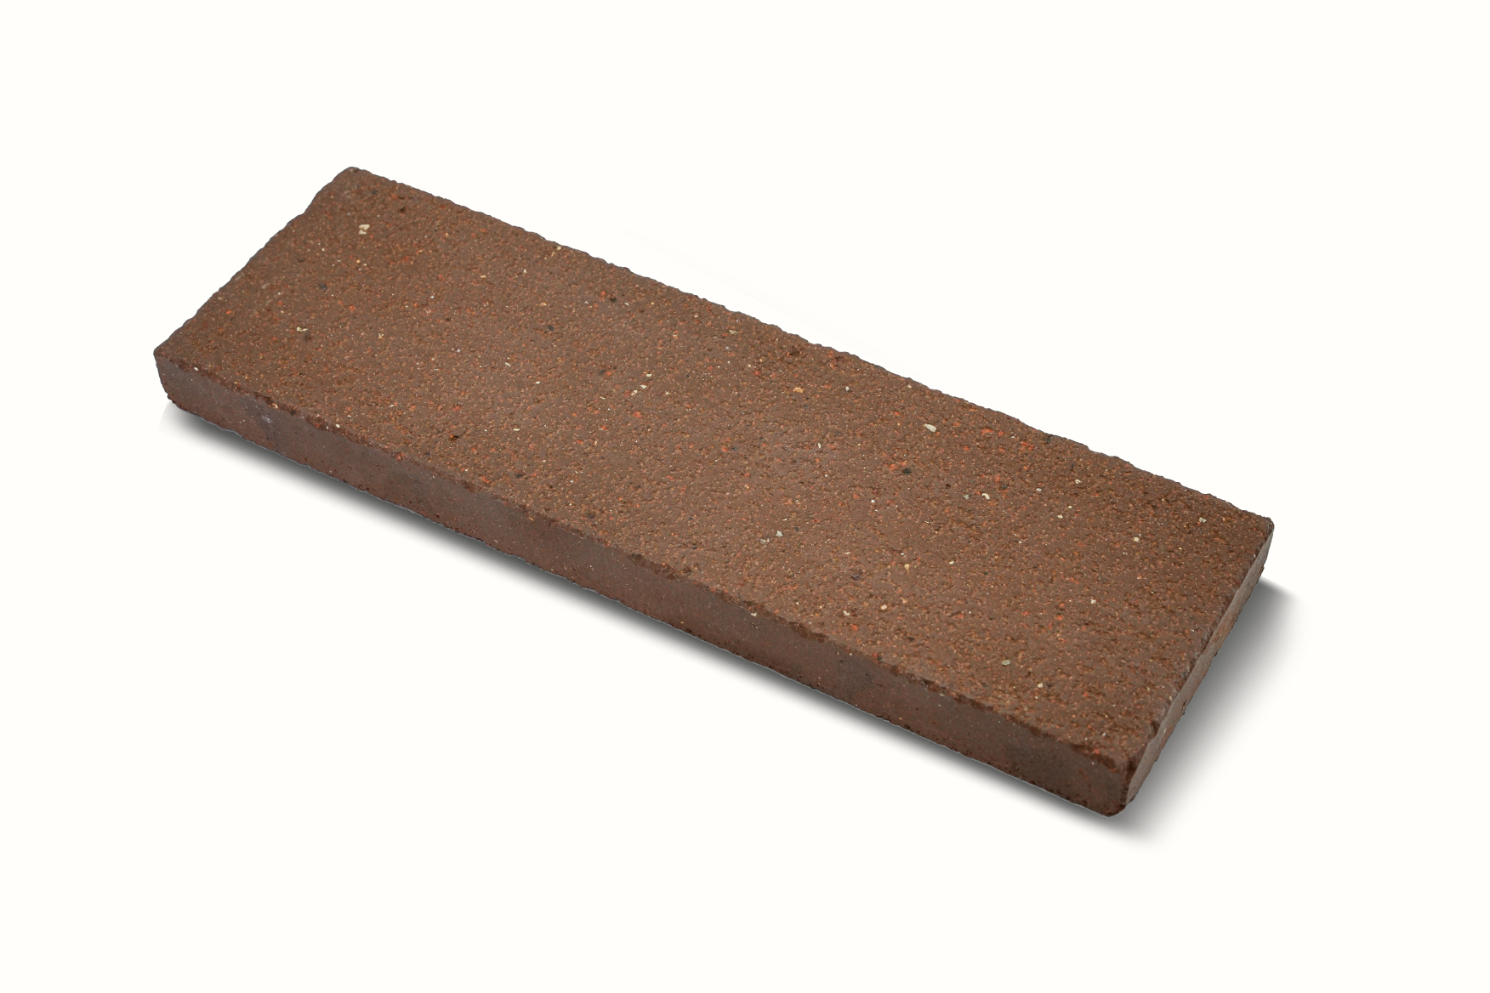
- Color : Light Brown
- Finish : Textured
- Sizes Available :
- 9″x3″×17mm / 9″x2″×17mm
- 9″x1.5″×17mm / 6″×1″×17mm

- Color : Mud
- Finish : Textured
- Sizes Available :
- 9″x3″×17mm / 9″x2″×17mm
- 9″x1.5″×17mm / 6″×1″×17mm
- Color : Dual Tone
- Finish : Textured
- Sizes Available :
- 9″x3″×17mm / 9″x2″×17mm
- 9″x1.5″×17mm / 6″×1″×17mm
- Color : Terracotta
- Finish : Textured
- Sizes Available :
- 9″x3″×17mm / 9″x2″×17mm
- 9″x1.5″×17mm / 6″×1″×17mm
Antique Tiles
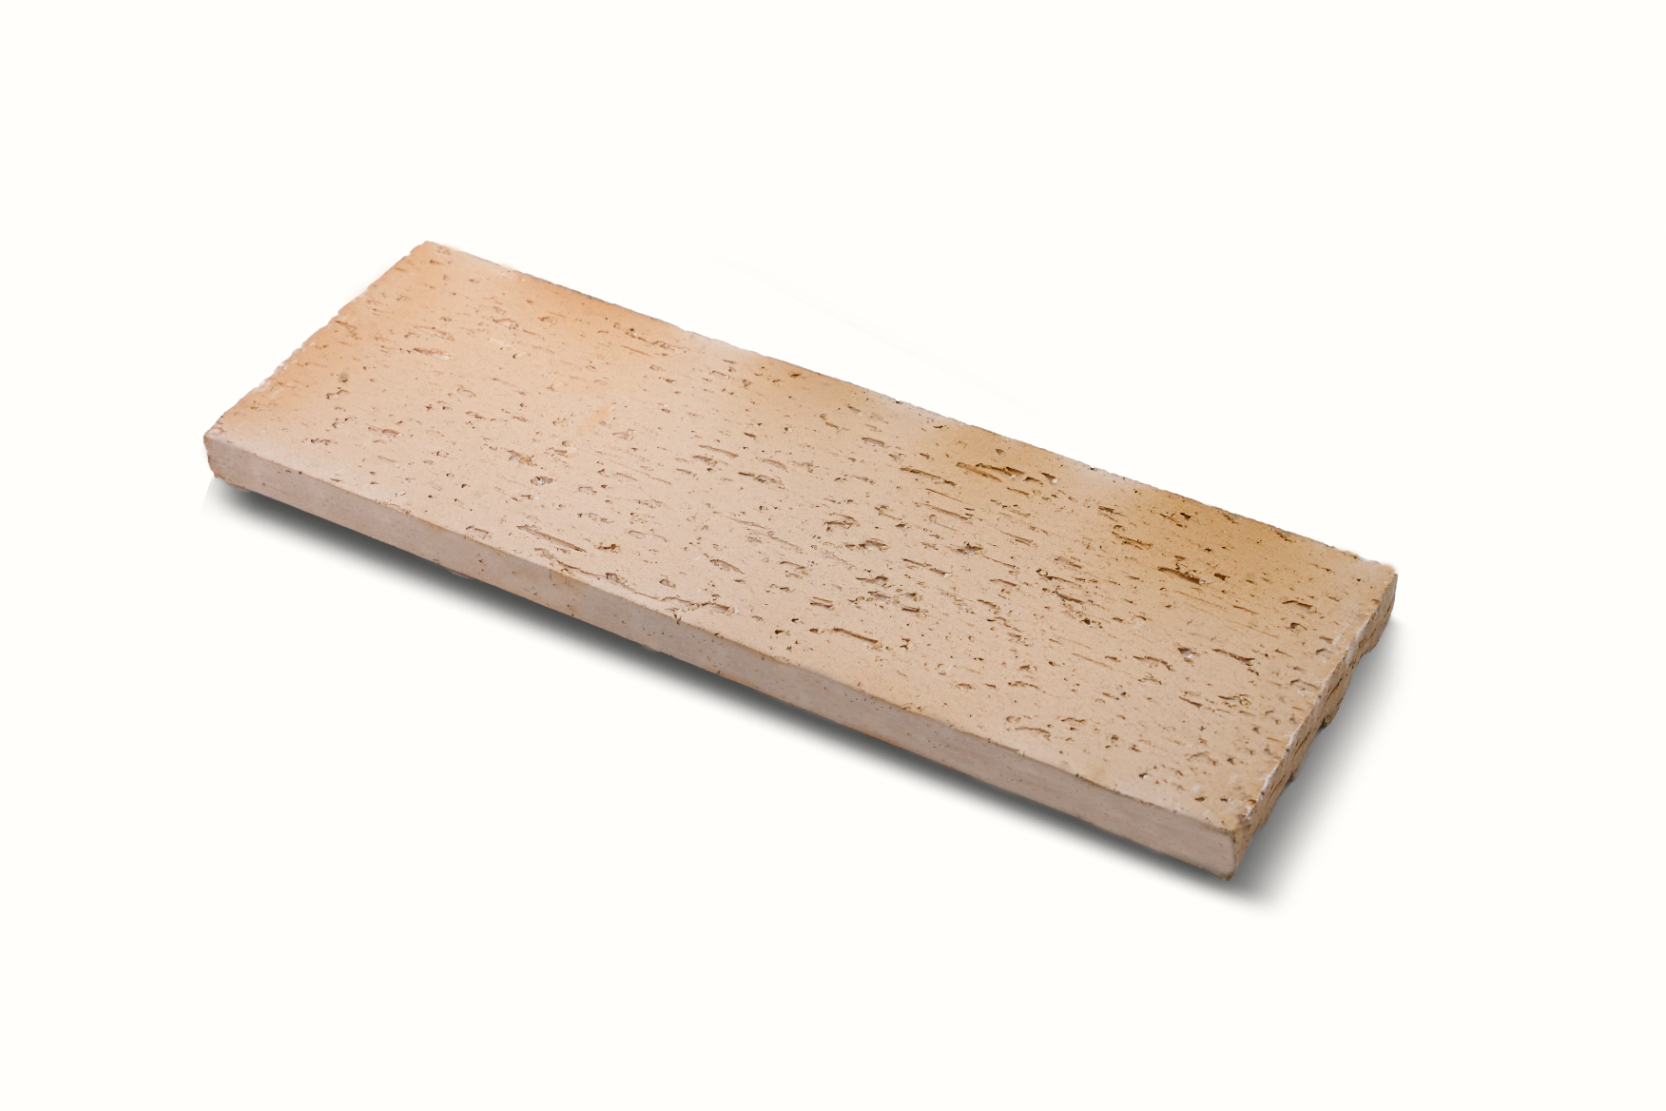
- Color : Beige
- Finish : Antique
- Sizes Available :
- 9″x3″×17mm / 9″x2″×17mm
- 9″x1.5″×17mm / 6″×1″×17mm
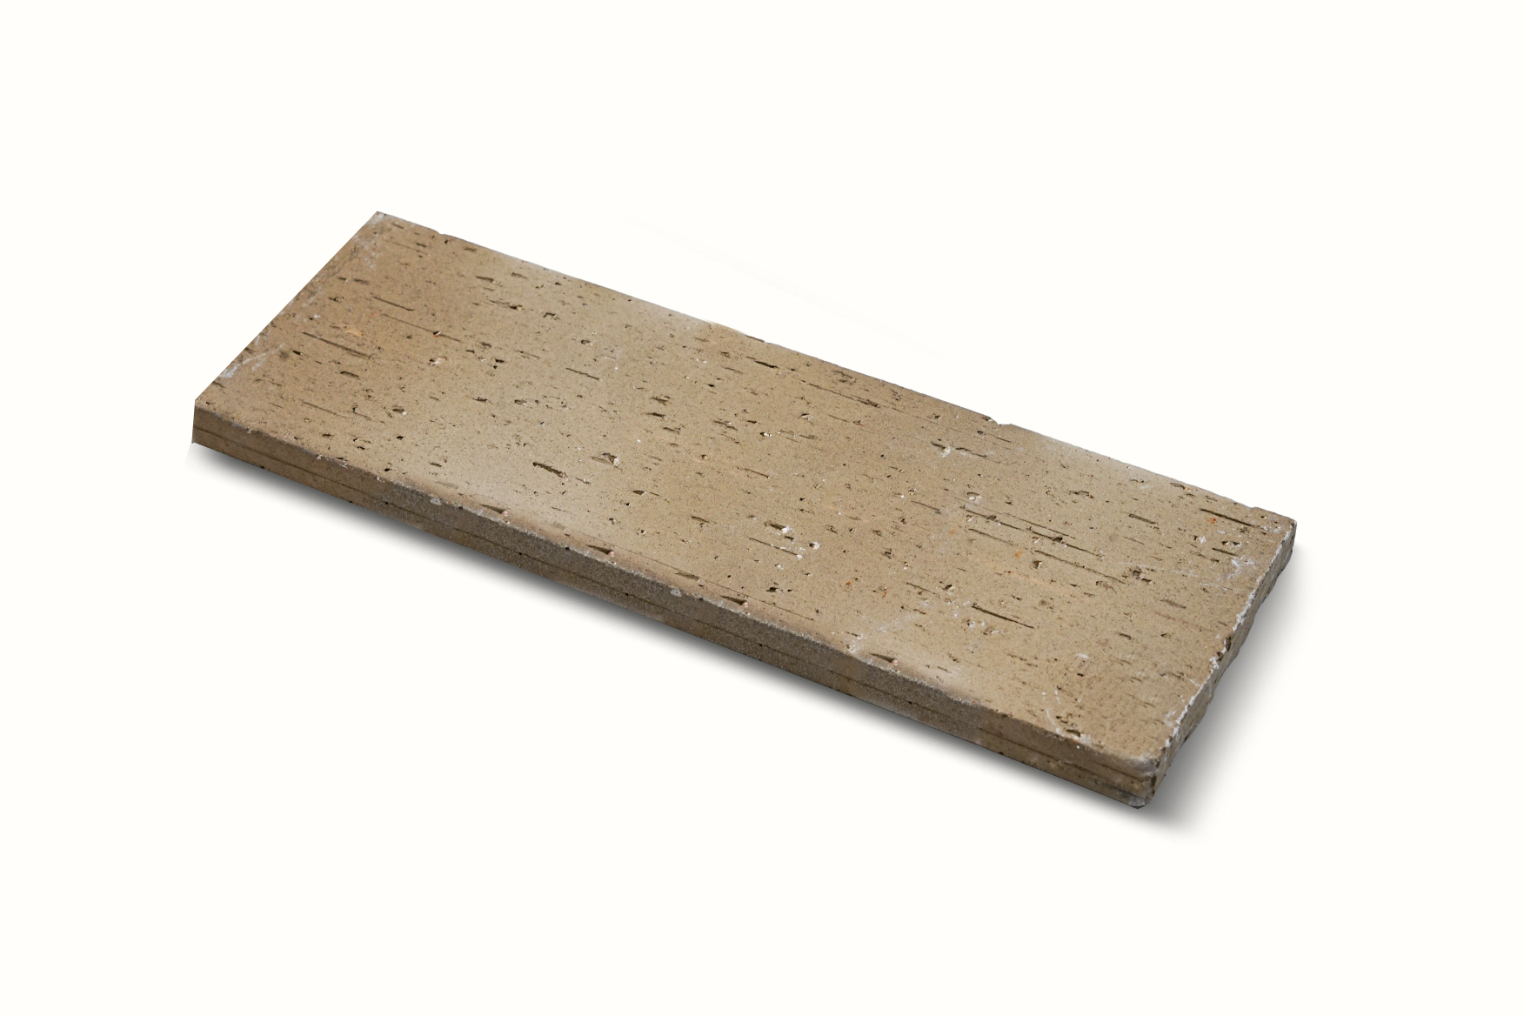
- Color : Mud
- Finish : Antique
- Sizes Available :
- 9″x3″×17mm / 9″x2″×17mm
- 9″x1.5″×17mm / 6″×1″×17mm

- Color : Chocolate
- Finish : Antique
- Sizes Available :
- 9″x3″×17mm / 9″x2″×17mm
- 9″x1.5″×17mm / 6″×1″×17mm
- Color : Terracotta
- Finish : Antique
- Sizes Available :
- 9″x3″×17mm / 9″x2″×17mm
- 9″x1.5″×17mm / 6″×1″×17mm
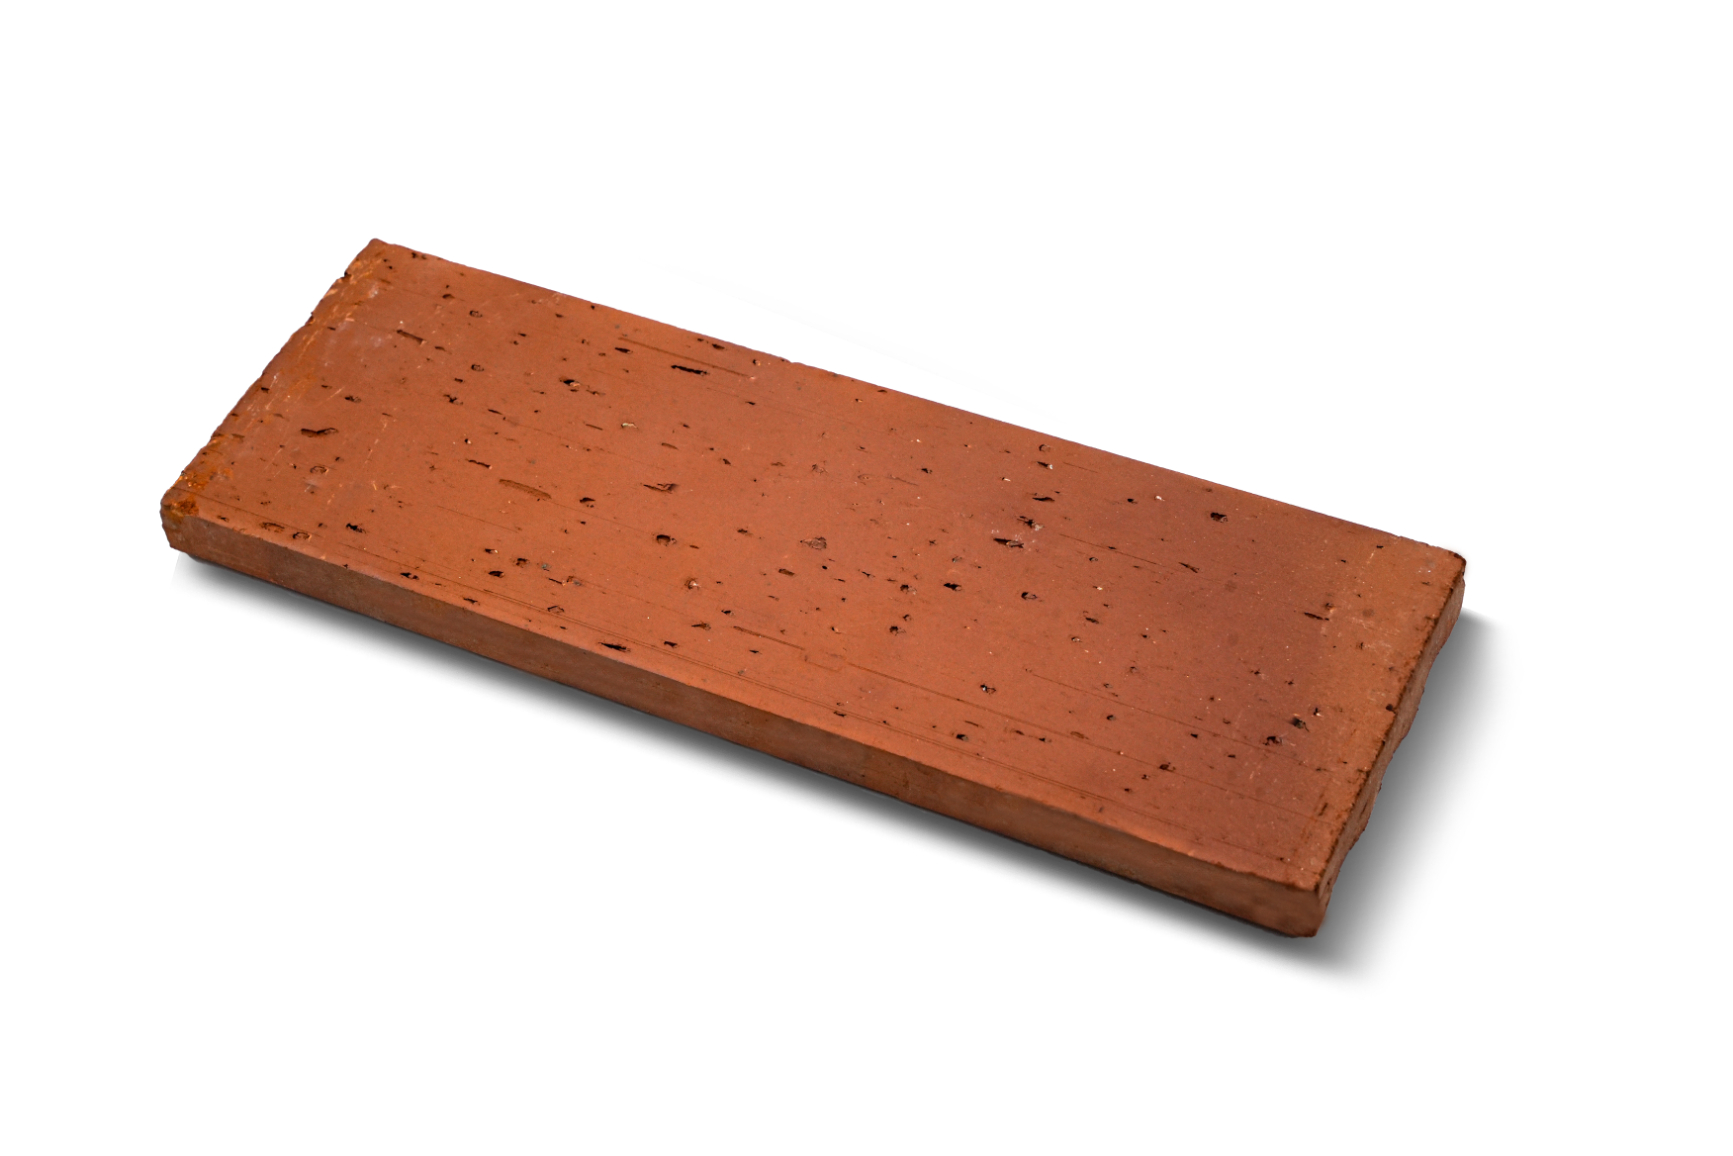
Handmade Tiles
- Color : Mud
- Finish : Handmade
- Sizes Available :
- 9″x3″×17mm / 9″x2″×17mm
- 9″x1.5″×17mm / 6″×1″×17mm
- Color : Terracotta
- Finish : Handmade
- Sizes Available :
- 9″x3″×17mm / 9″x2″×17mm
- 9″x1.5″×17mm / 6″×1″×17mm
- Color : Light Brown
- Finish : Handmade
- Sizes Available :
- 9″x3″×17mm / 9″x2″×17mm
- 9″x1.5″×17mm / 6″×1″×17mm
Brick / Tile Calculator
| 4 Inch | 9 Inch | |
|---|---|---|
| Total Required | 0 | 0 |
Features and Benefits

Weather proof
Tiles are silicon coated before delivery on site to prevent algae deposition and water marks.

Evergreen colours
Colours will never fade as they are obtained after firing & are same throughout the thickness of tiles.

Easy Installation
Cladding Tiles are sometimes preferred over brick because they are installed at the time of finishing

Forget about the maintenance
Brick products never need to be painted and hardly need any cleaning
SUPERIORITY
Where Can Be Cladding Tiles Used?
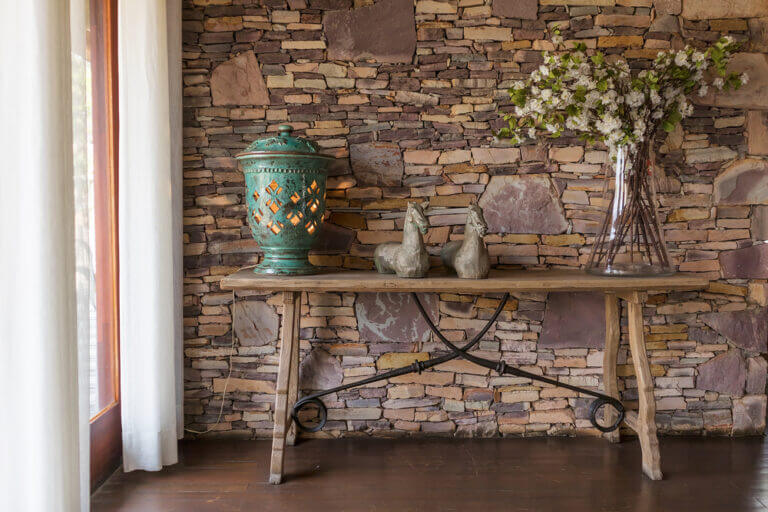
Inside Walls
You can use cladding tiles in your living room, bedroom, or kitchen to give them a more interesting look. They add texture and make the walls stand out.

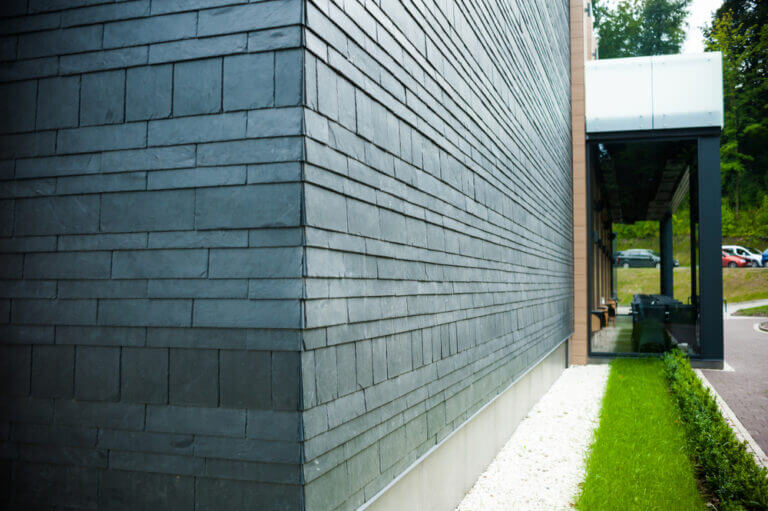
Outside Walls
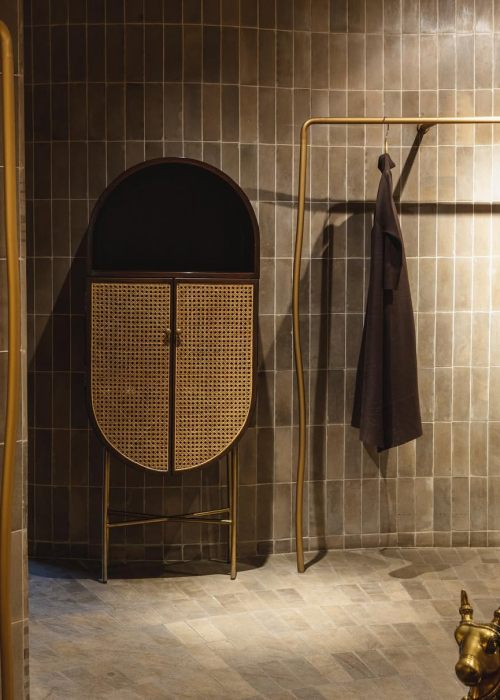
Cladding tiles are great for improving the appearance of the outside of your house or building. They make the walls look nicer and also protect them.
Fireplaces
If you have a fireplace, interior brick cladding tiles can make it feel cosy and welcoming. They add a warm and charming touch to this important part of your home.
Feature Walls
Want to make a wall stand out? Wall cladding tiles are perfect for that! You can use them on a specific wall, like one in your hallway or a wall you want to highlight. They instantly grab attention and make the space more interesting.
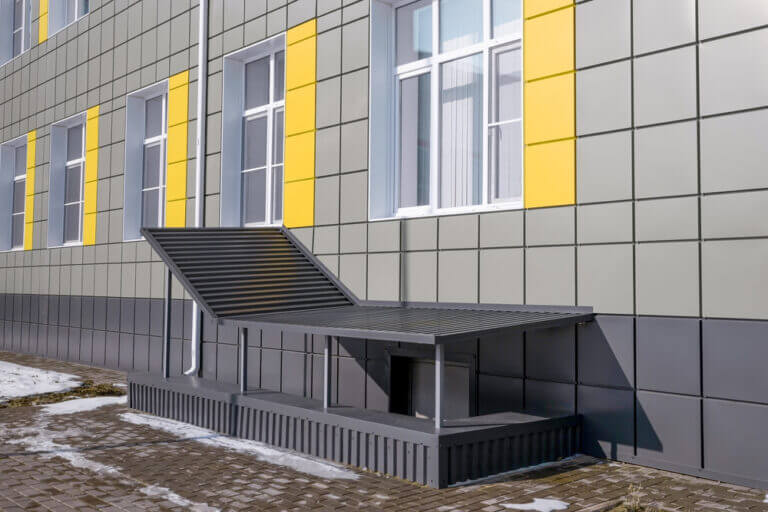
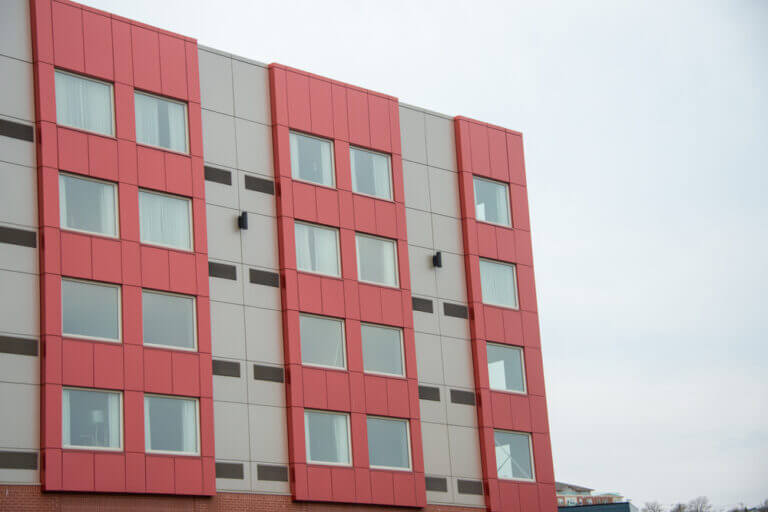
Commercial Spaces
Cladding tiles are commonly used in offices, hotels, restaurants, and stores. They give these places a more sophisticated and professional look.
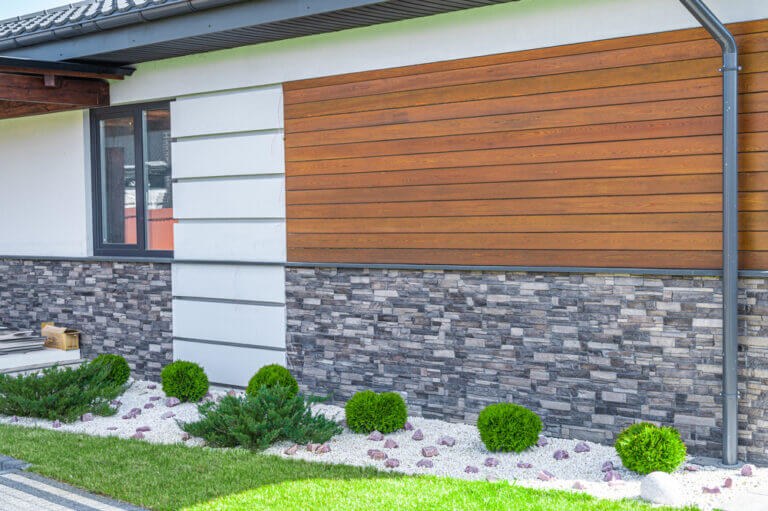
Outdoor Areas
To make your outdoor spaces look better, you can use cladding tiles on garden walls, pathways, or patio walls. They bring a natural and elegant feel to your outdoor design.
About Jindal Mechno Bricks Best Building Materials Provider in India
Are you prepared to uncover the ultimate destination in India for all your building material requirements? Look no further than Jindal Mechno Bricks, the renowned supplier of exceptional construction materials!
At Jindal Mechno Bricks, we take great pride in providing a wide selection of building materials that surpass industry standards. From top-notch bricks to cement, steel, aggregates, and more, we have everything necessary to transform your vision into reality.
Jindal Mechno Bricks is well known for: Superior Quality, Wide Selection, Advanced Technology, Stringent Quality Checks, Trusted Performance.
| Benefit | Description |
|---|---|
| Enhanced Aesthetics | For a beautiful building facade, cladding tiles offer aesthetically pleasing designs, colours, and textures. |
| Weather Protection | Cladding tiles act as a barrier, protecting the building from damaging elements such as wind, rain, and ultraviolet radiation. |
| Low Upkeep | Cladding tiles for interior walls are cost-effective because they are strong, resistant to stains and fading, and require little maintenance. |
| Structural Protection | Cladding tiles protect the building’s outer walls from wear and tear, crashes, scratches and other external pressures, extending the structure’s life. |
What is cheaper, cladding or tiles?
- Depending on the material, design, and brand, cladding or tiles might cost differently. Since cladding frequently covers bigger areas with fewer pieces, it can be more cost-effective than individual tiles.
How much time do you take to deliver hollow blocks in India?
- At Jindal Mechno Bricks, we understand the importance of timely delivery. Our delivery time for hollow blocks in India may vary depending on factors such as location and order size. We strive to ensure prompt and efficient delivery to meet our customers’ construction timelines. For specific delivery timelines, we recommend contacting our sales team or our customer service department.
What are the types of hollow block sizes available?
- We offer a range of hollow block sizes at Jindal Mechno Bricks to cater to diverse construction needs. Our available sizes typically include standard dimensions such as 4 inches, 6 inches, 8 inches, and 12 inches, but we can also provide custom sizes upon request. Our sales team will be happy to assist you in selecting the most suitable size for your project.
Which is better, hollow blocks or cement?
- Hollow blocks and cement serve different purposes in construction. Hollow blocks offer advantages such as lightweight design, thermal insulation, and soundproofing due to their unique structure. Cement, on the other hand, is a binding material used to create strong and durable structures. The choice between hollow blocks and cement depends on the specific requirements of your project.